
Guides
Step-by-step Mycopunk guides covering the mission loop, the upgrade grid, weapon unlocks and mission planning for new and returning Hazard Crew employees.
Introduction
Mycopunk is a mission-based looter shooter where the real skill ceiling is not aim but loadout planning: every upgrade is a shaped pattern of hexagonal cells, and the grid only holds so much. This section collects the step-by-step guides that get a new Hazard Crew employee from their first drop on New Atlas to a working build. Start with the beginner track if you have never boarded a Drop Pod, then move to the upgrade grid, weapon unlock order and mission selection guides once you understand the loop. Each guide is written to be read in one sitting and to answer a specific question, so you can jump straight to the one that matches whatever is currently blocking your run.
Guide Tracks at a Glance
| Track | Focus | Best For | Start When |
|---|---|---|---|
| Beginner Track | The mission loop, extraction discipline, first unlocks | Players who have never boarded a Drop Pod | Before your first mission |
| Upgrade Grid Track | Cell budgeting, rotation, Pattern Infusion | Anyone whose grid is full of unusable patterns | Once you own 10+ upgrades |
| Weapon & Element Track | Armament Licenses, element pairings, status effects | Players stuck on the starting loadout | Around player level 10 |
| Mission & Progression Track | Region choice, threat scaling, weekly resets | Players farming Saxonite or pushing threat 7 | After level 13 |
Guide Tracks
Beginner Track
Start Here — First drop to a working grid
Upgrade Grid Track
Planning — Cell budgeting and Pattern Infusion
Weapon & Element Track
Loadout — Unlock order and status effects
Mission & Progression Track
Efficiency — Regions, threat levels and weekly resets
Core Mechanics
The core loop never changes: pick a mission from the New Atlas map, land in a procedurally generated level, complete the objective before the timer expires, then board the Drop Pod to keep whatever you found. Failing to board means losing the run's loot, which is why guide advice so often focuses on extraction discipline rather than damage. Between missions you return to the HUB, the orbital dropship where you sort upgrades into the grid, spend Antimass Substrate at the Pattern Infuser, and choose the next weapon to unlock with an Armament License. Guides on this site follow that same rhythm: what to bring, what to do in the level, and what to do with the results afterwards.
Advantages
Guides are the cheapest way to skip the mistakes that make Mycopunk feel unfair. Threat 3 and above punish a player who is still holding a stock weapon with an unfitted grid, and the game does not explain the difference between an upgrade that earns its cells and one that is bait. Reading the beginner track first means your first handful of runs produce usable upgrades instead of a pile of modules you cannot fit. The mission guides then turn that baseline into efficiency: which objectives pay Antimass Substrate fastest, when a modifier should make you reroll, and which regions suit a short session rather than a long one.
Challenges
Mycopunk changes quickly, and any guide can drift out of date after a patch. The 1.0 release alone renamed two grenades, added a fifth employee, introduced a new region and reworked the HUB, so advice written during Early Access may describe systems that no longer work the way it says. The game also keeps several systems deliberately undocumented, including the full upgrade list, the Fulfillments track and the X11-B layout, and this site will not invent details to fill those gaps. Treat guides as a starting point, check the in-game Codex for the current state of any upgrade, and re-read a guide after a major update rather than assuming it still applies.
Frequently Asked Questions
Do I need to play Mycopunk in co-op to follow these guides?+
What should I actually do in my first hour?+
Are these guides written by the developers?+
Quick Tips
Read the mission modifiers before you launch, not after you land. A single bad modifier on threat 5 will end a run faster than bad aim, and the mission select screen shows them for free. If the list contains something that hard-counters your current element, either swap the element or pick a different mission and save the cooldown for later.
Treat cells as your real budget. A legendary-looking module that occupies six cells and gives you a small damage bump is usually worse than two cheap patterns that fit into the gaps around it. Before you commit to a big pattern, lay out everything else you plan to keep and check that the remainder still fits, because the grid does not grow to accommodate a new favourite.
Bank resources early and often. Antimass Substrate and Saxonite both come from extracting, not from killing, so a completed low-threat mission beats a spectacular wipe on a high-threat one. If the timer is running short and a teammate is down, weigh the revive against the extraction window and pick the option that keeps the run's loot in your inventory.
Featured

Mycopunk Beginner Guide: Tips, Tricks & Getting Started
Jump into Mycopunk with confidence — learn core controls, mission flow, and upgrade basics so your first runs as Saxon go smoothly.
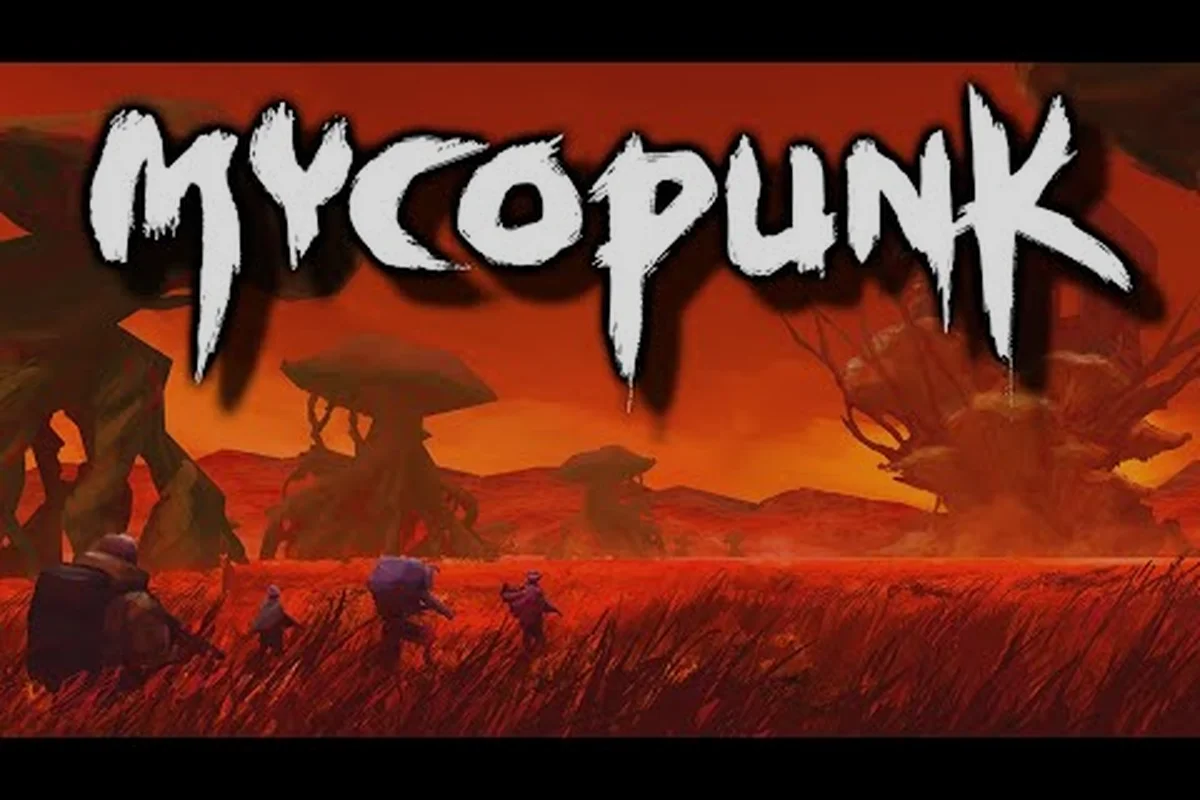
Mycopunk First Hour: Mission Picks, Upgrade Priorities & Pitfalls
Survive your Mycopunk first hour with the right mission picks, upgrade priorities, and a heads-up on the pitfalls that waste early runs.
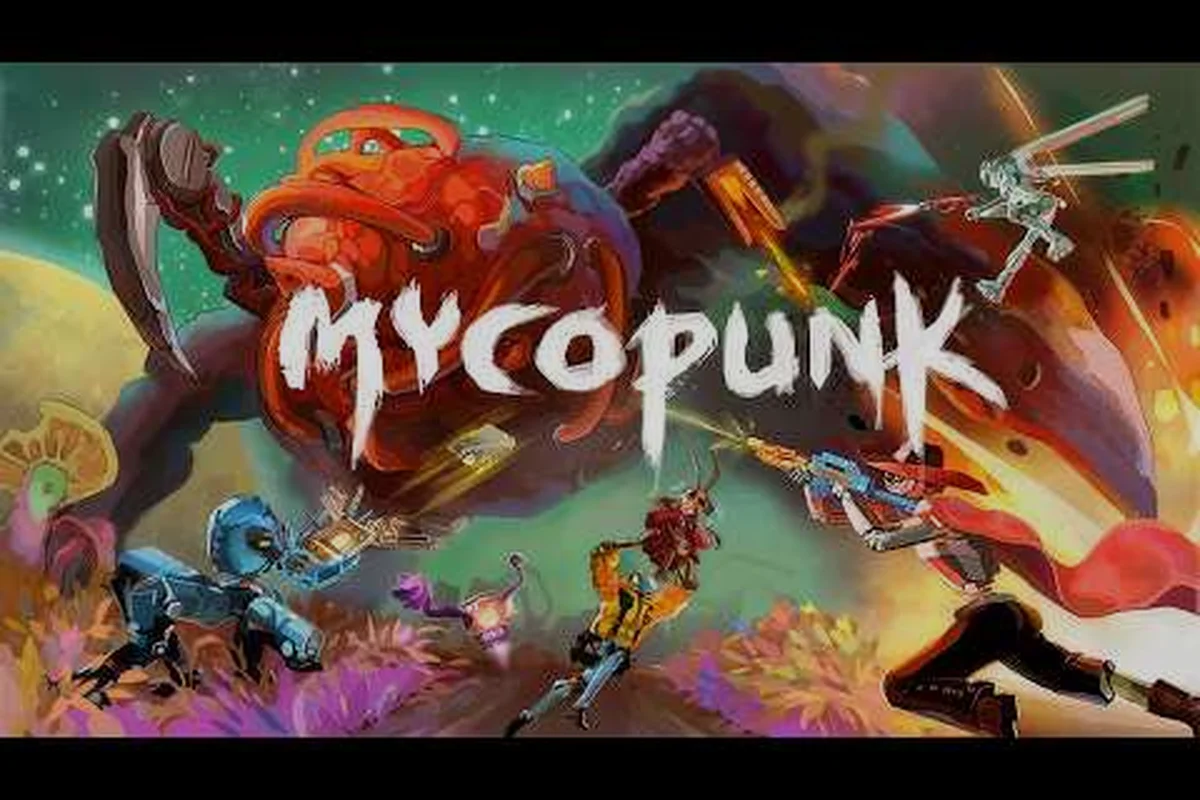
Mycopunk Tutorial: First Drop Pod to First Boss Walkthrough
Follow a Mycopunk tutorial from the first drop pod to your first boss — learn controls, mission flow, upgrade slotting, and the basics that keep every run on track.
All Articles

Mycopunk How to Farm Upgrades: Unlock Weapons & Get Saxonite
Stock up on power in Mycopunk — learn the best ways to farm upgrades, unlock new weapons, and gather the Saxonite you need to grow.
Mycopunk Is It Worth It? 1.0 Verdict, Co-Op Support & Controls
Decide if Mycopunk is worth your time at 1.0 with an honest verdict on the launch, co-op support, how the controls feel, and what the Supporter Pack adds.
Mycopunk Advanced Guide: Threat 8 Builds & Endgame Leveling
Push past the early game with a Mycopunk advanced guide covering late-game tuning, Ouroboros boss scaling, and faster employee leveling routes for endgame squads.
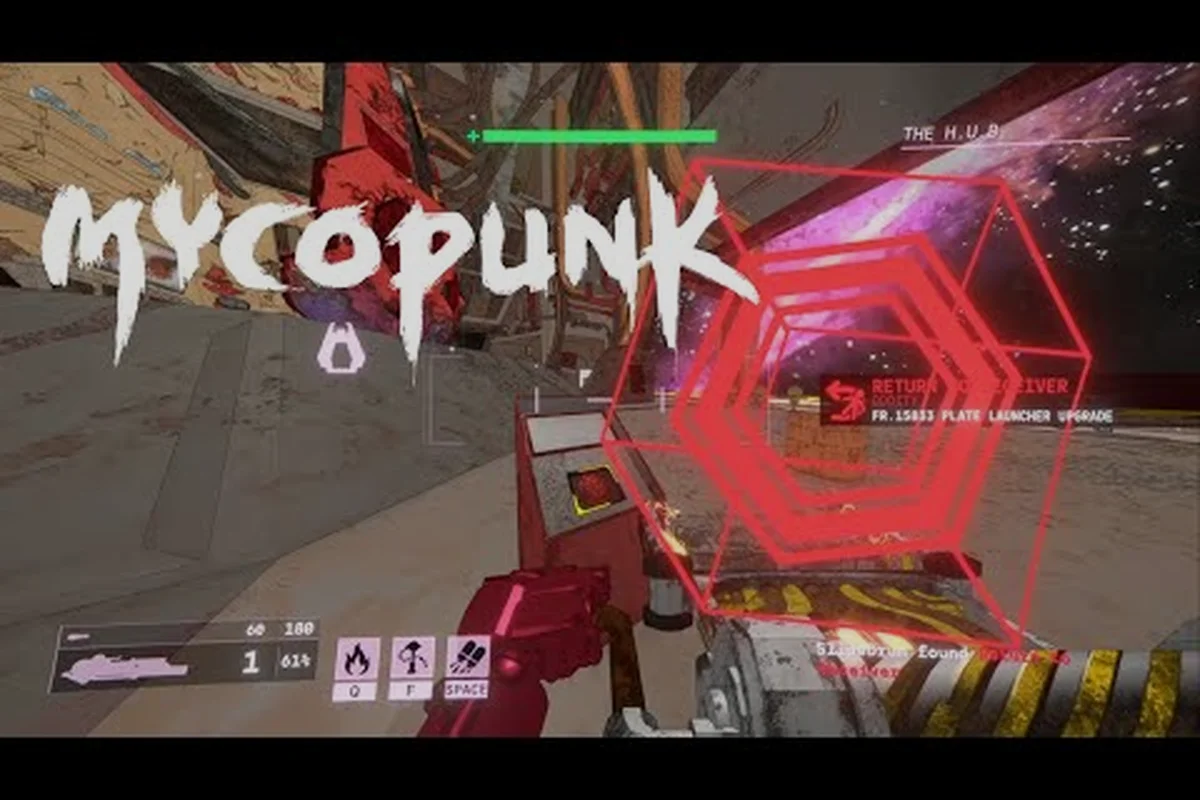
Mycopunk Common Questions: Regions, Progression & Next Steps
Get the Mycopunk common questions answered on regions, procedural layouts, what to do after your first mission, and which unlocks matter before endgame.

Mycopunk How to Play Solo: Pausing, Missions & Hub Navigation
Run Mycopunk how to play solo without falling behind — learn how pausing works, how to clear mission objectives alone, and the best ways to navigate the hub.

Mycopunk Codex Guide: Settings, Controller & Steam Deck Setup
Dial in your Mycopunk codex guide setup with the best controller mapping, graphics tweaks, and Steam Deck settings for smooth missions on any platform.

Mycopunk Upgrade Crafting Guide: Boost, Cleanse & Contraband
Crack the Mycopunk upgrade crafting guide loop — learn how to boost non-exotic upgrades, cleanse unwanted stats, and chase Contraband patterns in Ouroboros runs.