
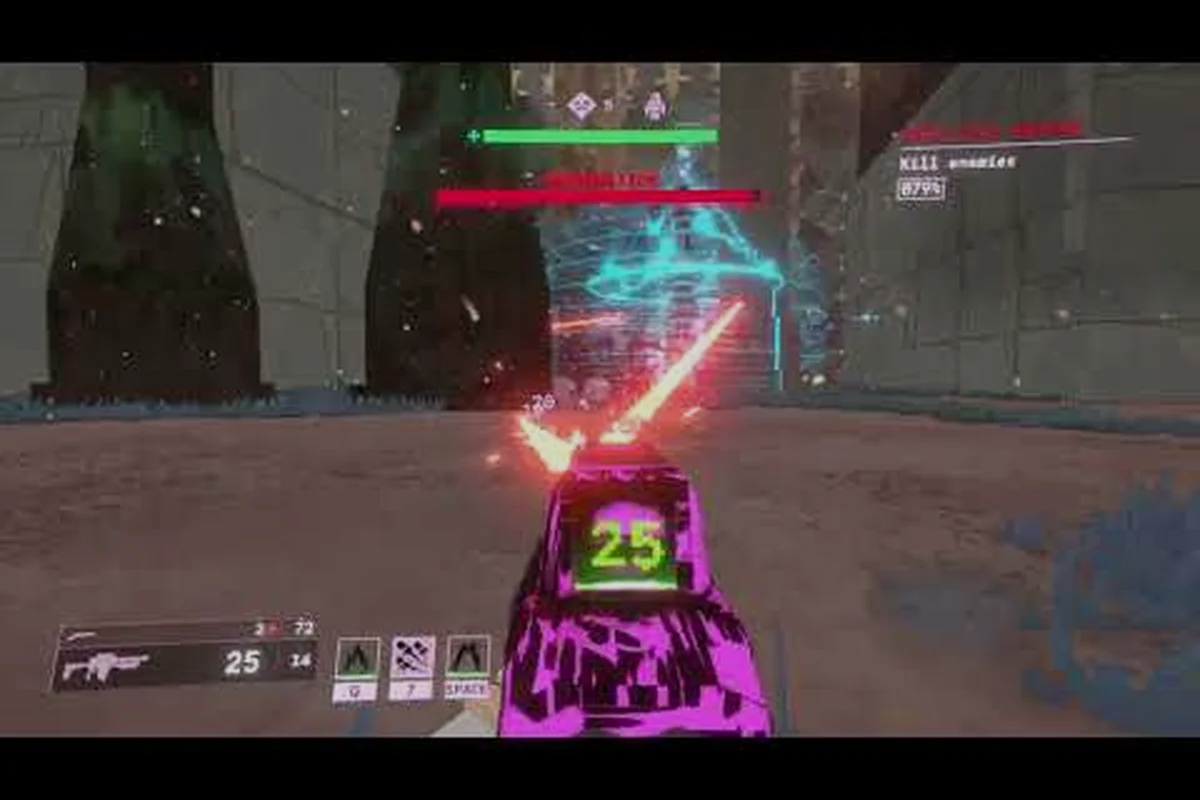
Mycopunk is a mission-based 4-player co-op looter shooter by Pigeons at Play, but it ships with full singleplayer support, which is exactly why the question of Mycopunk how to play solo comes up before most players finish their first drop. The 1.6.4 patch officially confirmed that opening your inventory now pauses the game in singleplayer, a small change that quietly transforms solo play from frantic to manageable. The October 2026 launch added Pause-on-Inventory as a quality-of-life layer that the co-op mode never needed, and every solo run now feels closer to a tactical looter than a survival sprint.
Why the 1.0 Hub and Pause System Matter for Solo Crews
Solo players never see a friendly Glider dropping in to revive them, never have a Bruiser peel an Amalgamation off their back, and never share a Codex read with a Wrangler across the cargo bay. The game compensates by giving singleplayer crews the single most powerful tool any solo looter shooter can offer: the ability to stop time without exiting the run. Before 1.6.4, solo operators had to flee to a corner and pray, because mid-mission inventory management left the world live and lethal. Update 1.6.4 changed that, and a Mycopunk beginner guide written before the patch would already be out of date for this one mechanic.
What 1.6.4 Actually Changed
The official 1.6.4 notes are short and specific. Movement code gained more momentum conservation, so you lose less speed while airborne and keep momentum when landing or sliding at high speeds. By popular demand, opening your inventory now pauses the game in singleplayer, which means swapping a Bruiser Shield Projector mid-fight no longer means a Cranius spawns behind you. Enemy fixes stopped them from teleporting after losing balance, and the grenade-spewing abomination no longer launches all of its grenades at once, a small mercy that any solo player who has been comboed by Abomination grenades will appreciate.
| Mechanic | Pre-1.6.4 Solo Behavior | Post-1.6.4 Solo Behavior |
|---|---|---|
| Inventory open | World stays live, hostiles attack | Singleplayer world freezes |
| Airborne momentum | Lost on landing | Largely conserved across landing and slides |
| Abomination grenade burst | All grenades fire at once | Staggered, more dodgeable |
| Enemy post-stagger | Occasional teleport | Stays put, allowing punish windows |
What This Means in Practice
The singleplayer pause is not a panic button. It is a planning layer that lets solo players treat the inventory like a tactical map. Open it between rooms to read the Codex, swap a Diffraction Driver halo charge for a Cycler alt-mode, or pick the right Pattern Infusion before triggering the next swarm. Solo players who tried to manage this on the fly were getting hit during every menu, and the result was a string of avoidable down-states. The pause makes inventory access a deliberate action, and that changes how a solo run feels from the first mission to the hardest Threat 7 drop.
Reading the Mission Objective Screen Without a Squad
A solo mission guide starts with the objective screen, because that is the only briefing tool solo crews get. The objective panel lists primary, secondary, and hidden tasks, and it does not tell you the order in which a co-op squad would naturally clear them. Solo players have to read the board, plan a route, and execute without help. The Mycopunk mission guide breakdown of every mission type is the right companion when you are trying to figure out which one fits your current upgrade level, but the in-mission objective screen is what tells you what to do right now.
Primary, Secondary, and Hidden Tasks
Every mission panel lays out three layers, and each layer is handled differently when you are alone. Primary tasks gate the extraction, so clearing them in order keeps the timer friendly. Secondary tasks give bonus Antimass Substrate or Strange Components, and skipping them is fine for a first run. Hidden tasks only reveal after a specific trigger, and solo players often stumble into them by accident while clearing primaries. Knowing the three-layer structure means you can pick a route that collects the most reward without backtracking through already-cleared rooms.
| Objective Layer | Solo Priority | Typical Reward |
|---|---|---|
| Primary | Always clear first | Mission completion, Saxonite |
| Secondary | Clear if route is short | Antimass Substrate, Strange Components |
| Hidden | Trigger-aware only | Cosmetics, Fulfillments progress |
Common Objective Patterns
Most solo objectives fall into a handful of patterns that repeat across mission types. A Prized Possession run funnels you toward Battery Barry and then demands a defended extraction. A Planetary Defense wave-based mission drops you into a fixed arena and rewards staying power. An Oxythane Breach seeds the map with toxic zones that slowly close the safe area, so the objective becomes a routing puzzle. Reading the objective screen and immediately categorizing it into one of these patterns is the first habit a solo player should build, because the patterns dictate which employee and which weapon pair is optimal for the run.
The Hub Layout and Why Solo Players Spend More Time There
The HUB is the orbital dropship that Pigeons at Play reworked in the 1.0 update, and it is the single location every Mycopunk solo player needs to learn by heart. The HUB is not a menu screen; it is a physical space with named NPCs, terminals, and minigames, and solo players spend more time in it than co-op players because there is no squad to coordinate loadouts with. A working Mycopunk hub guide is the difference between fumbling through terminals at extraction and walking into the next mission with the right Loadout, the right Antimass, and the right Skin already equipped.
According to the Mycopunk Steam Community announcement, playing solo remains a fully supported mode, with the game's mechanics and balance tuned so that a single player can complete runs without relying on coordinated teammates.
Key Stations and What They Actually Do
Every HUB station serves a different solo planning purpose, and the order in which you visit them defines your pre-mission routine. Roachard Cox gives the briefing and the lore, so start there. The Armament License terminal gates weapon progression, and the Pattern Infuser turns Antimass into permanent upgrades. The Lost Loot Terminal recovers items from failed runs, which matters more for solo because death is more common without a squad. Lottery Larry rerolls Skin drops, and the Starrunner arcade machine is the break most solo players need between Threat 7 runs.
| Station | Solo Planning Role | Frequency of Use |
|---|---|---|
| Roachard Cox (briefing) | Lore and mission context | Every visit |
| Pattern Infuser | Spend Antimass Substrate on permanent upgrades | Weekly |
| Armament License | Unlock new weapons and skin slots | Once per level bracket |
| Lost Loot Terminal | Recover drops from failed missions | Often |
| Lottery Larry | Reroll Skin rarities | As desired |
| Starrunner (arcade) | Break between high-threat runs | Optional |
HUB Upgrades and Antimass Spending
Antimass Substrate is the slow-burn solo currency, earned mostly through Incursion runs and high-threat missions, and it is spent at the Pattern Infuser. Solo players do not get the benefit of shared co-op Antimass, so every Pattern Infusion has to be planned. Common solo priorities are damage upgrades on the employee's main damage weapon, survivability passives, and upgrades that reduce the recharge on mobility tools like the Glider Rocket Salvo or the Wrangler Air Dash. The Antimass economy is the long arc of Mycopunk progression, and the HUB is where the spending decisions happen.
Solo Loadout Building and the Upgrade Grid
Loadouts matter more in solo play than in co-op because every Loadout slot is a slot a friend would otherwise fill. A solo Glider cannot rely on a Bruiser friend to soak aggro, so the Loadout has to bake survivability into the weapon and grenade choices from the start. The Upgrade Grid, the hex-pattern upgrade board that is unique to Mycopunk, lets solo players route upgrades in non-linear paths, and the Mycopunk upgrade crafting guide covers the deeper craft. For solo, the short version is that you want the upgrade nodes nearest your weapon's archetype first, because the Antimass Substrate you earn on a Threat 5 run is better spent on immediate damage than on a Contrabond node you cannot afford yet.
Weapon Choice for Solo Operators
Not every weapon pulls its weight when there is no squad. The A16 Beam Ripper and the Diffraction Driver are both strong solo picks because they do not need a front line to shine. The Swarm Launcher can carry a solo run when upgraded, and the Carver is a forgiving early-game pick for Threat 1-4 content. Weapons that depend heavily on coordinated damage, like the DMLR or the Gunship Cannon, feel weaker alone because the co-op enablers they pair with are not there. The Diffraction Driver has a specific solo benefit because its alt-fire halo tightens the cone and extends range, which lets a solo player clear a room at distance without exposing themselves to a Missilehead counterattack.
| Weapon | Solo Strength | Why It Works Alone |
|---|---|---|
| Diffraction Driver (1.0) | High | Cone tightens with alt-fire, range extends |
| A16 Beam Ripper | High | Hitscan, safe at mid range |
| Carver | High (early) | Forgiving recoil, easy upgrade path |
| Swarm Launcher | Medium | Carries with the right upgrade nodes |
| Gunship Cannon | Low | Needs a front line to enable safely |
Employee Choice for Solo Play
The five officially named employees are Glider, Scrapper, Bruiser, Wrangler, and Mycologist, and each pulls differently when you are alone. The Bruiser is the most forgiving solo employee because the Shield Projector gives you a portable safe zone, and Nose Dive lets you escape bad positioning. The Glider brings vertical escape routes through Rocket Salvo and Wingsuit, which is invaluable when an Abomination closes in. The Wrangler Air Dash and Rocket Lasso can control crowds when there is no friend to peel. The Scrapper is the most technical solo employee because Grapple Pole and Jetpack have to be chained for full value. The Mycologist is unlocked via the Expedition Alpha rescue mission, and her full upgrade list is not yet published by the developer, so solo players picking her up at 1.0 should expect a learning curve.
| Employee | Solo Playstyle | Key Solo Tool |
|---|---|---|
| Glider | Vertical escape and burst damage | Wingsuit + Rocket Salvo |
| Scrapper | Technical mobility chains | Grapple Pole + Jetpack |
| Bruiser | Tanky and forgiving | Shield Projector + Nose Dive |
| Wrangler | Crowd control and repositioning | Air Dash + Rocket Lasso |
| Mycologist | Experimental, published upgrade list is incomplete | Sporelift, Fungal Skewer, Infection passive |
Solo Mission Progression and Threat Scaling
Solo progression follows a different curve than co-op because every room is cleared without a second gun, every revive is a self-revive, and every death is a real failure. The developer published numbers for upgrade rotation unlocks, and these work the same way in solo and co-op, but the pacing of reaching them is slower. Standard upgrades unlock at level 3, Rare at 8, Epic at 16, and Exotic+ at 30, with the employee level cap sitting at 30 and a weapon level reward at 32. The 1.0 launch did not publish a complete Fulfillment list, so the cosmetic progression arc is still partly hidden, but the mechanical arc is fully documented.
Threat Levels and the Solo Difficulty Curve
Threat levels run from 1 to 7 in Mycopunk, and the developer has stated that Threat 8 is not a thing as of the 1.10.1 patch. Solo players should treat Threat 5 as the actual difficulty wall, not Threat 1, because the enemy density and elemental mix at Threat 5 start punishing reckless play. Saxonite, the resource used for high-end upgrades, has an approximate 60% drop chance at Threat 7, so the late-game solo grind lives there. X11-B is the 1.0 high-difficulty region on a moonlet of New Atlas, with tougher enemies and periodic electromagnetic storms that disable abilities, so solo players should not walk into it without a working Loadout and a stockpile of Death Protection.
| Threat | Solo Comfort | Notes |
|---|---|---|
| 1-2 | Tutorial | Learn employee, learn weapons |
| 3-4 | Comfortable | Start farming Antimass |
| 5 | Difficulty wall | Bring Death Protection and a full Loadout |
| 6-7 | Hard | Saxonite farming and Pattern Infusion prep |
| X11-B | 1.0 endgame | Ability-disabling storms, tougher enemies |
Incursion, Ouroboros, and the Solo Loop
The Incursion mission type unlocks at player level 13 and is the primary Antimass Substrate source, which makes it the most important solo loop. The Ouroboros mode is a roguelike run, and the Ouroboros Blitz variant is a 13-room short version, both of which scale well for solo players who want a quick run. The Escalation mission type is the long-form grind for solo players chasing Fulfillments and exotic upgrade drops. The mini special assignment called The Couch, added in 1.0, is a low-stakes palette cleanser between hard runs. A solo rotation of Incursion for Antimass, Ouroboros Blitz for Contraband and Oddity drops, and Escalation for exotic upgrades is the cleanest 1.0 progression loop.
The Singleplayer Pause as a Tactical Tool
The 1.6.4 singleplayer pause is the line between solo frustration and solo mastery, and learning to use it well is its own skill. The pause is triggered by opening the inventory, and the inventory is the only menu that triggers the freeze. Map, Codex, and other tabs do not all pause, so the discipline is to route every mid-mission decision through the inventory screen. Solo players who treat the pause as a built-in turn system will clear missions that feel impossible on the fly, and solo players who ignore it will burn through Death Protection charges.
When to Pause and When to Push
The pause is best used between encounters, not during them. After a room is cleared and before the next door opens, a pause lets you read the Codex, swap a Skin, or pick the right Strange Component spend at the upcoming Pattern Infuser. During a fight, pausing is technically possible but it forfeits the momentum of the encounter, because enemies are frozen but the timer keeps running for any objective that uses one. The solo instinct is to pause the second things go wrong, but the better instinct is to clear the immediate fight and then pause to plan the next one.
| Pause Use | Value to Solo Player |
|---|---|
| Between rooms for Loadout planning | High |
| During a long fight to read Codex | Medium |
| Mid-extraction to manage inventory | Risky, timer keeps running |
| After a death to regroup at Lost Loot Terminal | High |
| During boss telegraphs to plan burst window | High |
What the Pause Does Not Do
The pause does not save the run. The pause does not heal the player. The pause does not revive a downed teammate, and in solo there is no teammate to revive. The pause only freezes world simulation, so objectives that are on a real-world clock keep ticking, and enemies that are mid-animation keep playing. Solo players who think the pause is a save-scum tool will end up wasting Death Protection charges and runs. The pause is a planning layer, and treating it as anything else is a fast way to overstate what 1.6.4 actually delivered.
Solo Pitfalls and How to Avoid Them
Solo Mycopunk has failure modes that the co-op mode papers over, and most of them show up in the first five runs. The most common is over-aggression on Threat 5 missions, because solo players can clear Threat 1-4 with reckless builds and assume the same builds scale. They do not. The second most common is forgetting the Codex and the Pattern Infuser, because solo players who skip the HUB loop end up with weak Loadouts and no Antimass for upgrades. The third is treating the Cargo Pod and the Drop Pod like the same system; the Cargo Pod is the screen where you manage extracted loot, and the Drop Pod is the actual extraction vehicle, and confusing them in the heat of a run costs resources.
Inventory Management Without a Squad
The inventory is the most important solo screen, and the pause-on-inventory feature exists because solo players needed it. Without the pause, mid-fight inventory swaps were a death sentence. With the pause, inventory swaps are a deliberate action that you can take between fights, but the inventory itself still has a hard size cap, and solo players fill it faster than co-op players because every drop belongs to one person. A good solo rule is to keep one slot free at all times for emergency pickups, and to send low-rarity items to the Cargo Pod as soon as a room is cleared.
Death Protection and the Solo Run Recovery
Death Protection is a consumable that revives a player on death, and in solo it is the only safety net. Co-op players can rely on a teammate to pick them up, but solo players cannot. Stockpiling Death Protection before a Threat 5+ run is non-negotiable, and using one early in a run is usually a sign that the Loadout is not ready. Solo players who burn through Death Protection on Threat 4 will not have any left for the X11-B content they actually need them for, so the discipline is to learn the Loadout on lower Threats first.
Frequently Asked Questions
Can Mycopunk be played entirely solo from start to finish?
Yes. The 1.0 launch shipped with full singleplayer support, and the 1.6.4 patch added inventory-based pausing specifically for solo crews. Every mission type, every region, and every employee unlock can be cleared without joining a co-op squad, though some endgame content like X11-B is significantly harder alone.
How does pausing work in solo Mycopunk after the 1.6.4 patch?
Opening the inventory pauses the world in singleplayer. Movement, enemy AI, and ability timers all freeze while the inventory is open. Other menus like the Codex and the map do not all trigger the pause, so the discipline is to route every mid-mission decision through the inventory screen between fights.
What is the best employee for solo play in Mycopunk?
The Bruiser is the most forgiving solo employee because the Shield Projector gives a portable safe zone, and Nose Dive lets you escape bad positioning. The Glider is a strong second because the Wingsuit and Rocket Salvo create vertical escape routes. The Mycologist is the newest and her full upgrade list has not been published by the developer, so she is an experimental pick at 1.0.
Which missions should solo players run for Antimass Substrate?
Incursion missions are the primary Antimass source and they unlock at player level 13. Ouroboros Blitz is a strong 13-room solo run for Contraband and Oddity drops. Escalation missions are the long-form grind for exotic upgrades. A rotation of Incursion for Antimass, Ouroboros Blitz for Contraband, and Escalation for exotics is the cleanest 1.0 solo progression loop.
Is X11-B worth doing as a solo player?
X11-B is the 1.0 high-difficulty region on a moonlet of New Atlas, with tougher enemies and periodic electromagnetic storms that disable abilities. It is the toughest solo content in the game, and solo players should not enter without a working Loadout, a stockpile of Death Protection, and a tested employee. The reward is access to the Snowball Grenade, which unlocks from X11-B itself, and the developer has hinted that rolling the Snowball Grenade down a hill can grow it to cartoon size.