
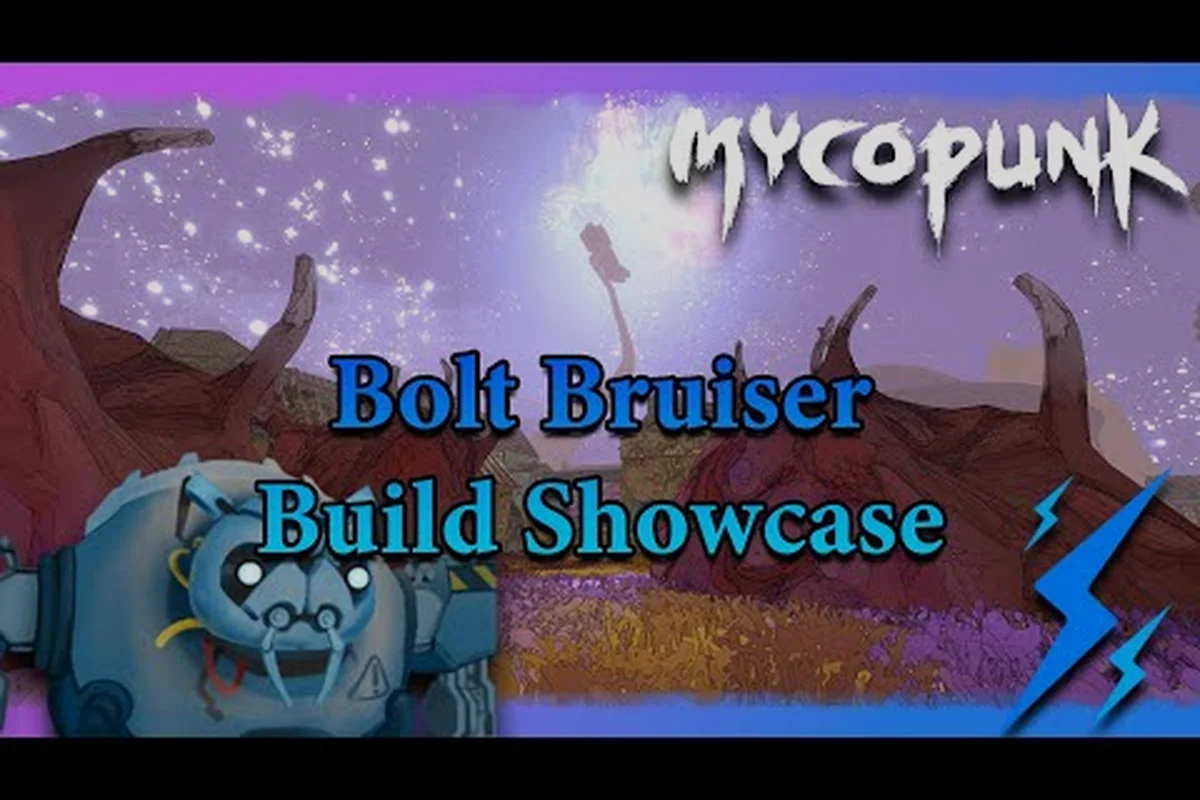
The Mycopunk Bruiser is the close-range heavy of the New Atlas Hazard Crew, built around the Nose Dive slam and the Shield Projector defensive tool. He is one of five official employees, sitting alongside the aerial Glider, the hook-and-jetpack Scrapper, the lasso-wielding Wrangler, and the fungal-support Mycologist unlocked later through Expedition Alpha. This guide breaks down everything confirmed about the Bruiser at the 1.0 launch on October 20, 2026, including his role in a four-person squad, the weapons that pair best with his kit, and where his aggressive style actually wins fights.
Because the game only left Early Access one day before this page was written, no third-party wiki or long-standing community guide exists yet. Every detail below is sourced from the official Steam listing, the Pigeons at Play developer channels, or the Mycopunk 1.0 patch notes — and where the studio has stayed quiet on a number, that gap is called out openly rather than filled with invented stats.
What the Bruiser Brings to a Mycopunk Squad
The Bruiser is the employee you pull out when the room is full of bullet-spongy Abominations and the mission modifier stack has everyone pinned. His identity is built on two confirm abilities — Nose Dive and Shield Projector — both of which are listed in the official employee roster alongside the Glider's Rocket Salvo, the Scrapper's Grapple Pole, the Wrangler's Rocket Lasso, and the Mycologist's Sporelift. If you want the full squad-by-squad comparison, the Mycopunk employee roster page walks through every confirmed ability in the same format.
What separates the Bruiser from the rest of the cast is range. The Glider solves problems from above using his wingsuit and Rocket Salvo; the Scrapper zips between threats with a jetpack and Grapple Pole; the Wrangler pulls priority targets with a Rocket lasso and a horizontal Air Dash. The Bruiser's tools, by contrast, reward standing next to the thing you want dead and trading damage with it. The Shield Projector gives him the soak to actually live through that trade, and Nose Dive gives him a reason to be in melee range in the first place.
| Employee | Signature Ability | Mobility Tool | Combat Range | Squad Role |
|---|---|---|---|---|
| Bruiser | Nose Dive | Shield Projector (defensive) | Close | Frontline brawler |
| Glider | Rocket Salvo | Wingsuit | Mid-to-long | Aerial DPS |
| Scrapper | Grapple Pole | Jetpack | Mid | Flanker |
| Wrangler | Rocket Lasso | Air Dash | Mid | Crowd control |
| Mycologist | Sporelift / Fungal Skewer | Infection passive | Mid | Fungal support |
The trade-off is that the Bruiser has no built-in traversal ability. Where the Glider flies, the Scrapper hovers, and the Wrangler dashes, the Bruiser runs. That single design choice dictates every other decision in his build — your weapons, your grenades, and your positioning all have to compensate for the fact that closing the gap is on you.
Bruiser Ability Breakdown: Nose Dive and Shield Projector
The two abilities the developer has officially named for the Bruiser are Nose Dive and Shield Projector. Everything else on his sheet — exact cooldowns, damage numbers, scaling, tier lists within the upgrade grid — is unpublished as of the October 2026 launch. If a guide or video you find claims a precise "Nose Dive does 480 damage at level 30," treat that as community guesswork, not a fact.
Nose Dive: The Engagement Tool
Nose Dive is the Bruiser's gap-closer and burst tool. In design terms it functions like a charged aerial slam: the Bruiser leaps and crashes back down, dealing impact damage in a small radius. Its purpose in combat is to punish grouped-up enemies and to give the Bruiser a fast way to get into Shield Projector range. Because the Bruiser has no jetpack, wingsuit, or Air Dash, Nose Dive is also his only confirmed mobility expression — the equivalent of the Glider's wingsuit or the Scrapper's jetpack, just pointier.
The key tactical read on Nose Dive is that it converts vertical space into damage. Maps that look flat for ranged employees often have jump-pads, ledges, or rubble piles that the Bruiser can drop off of to skip the slow walk-in. On Escalation and Amalgamation Hunt pulls, where the modifier stack spawns clustered chaff, a well-timed slam followed by Shield Projector often clears a wave in one rotation.
Shield Projector: The Defensive Anchor
Shield Projector is the Bruiser's second named ability and the one that lets him stay in melee range without evaporating. The official description positions it as a deployable defensive barrier — it absorbs incoming damage so the Bruiser can hold a chokepoint or a downed-ally revive window. It is the only defensive tool in the confirmed Bruiser kit; the Glider's shield options and the Scrapper's dodge windows are different systems entirely.
The two abilities are designed to chain. Nose Dive puts you in the middle of a pack, Shield Projector holds you there while your weapons work, and then you leap out before the shield collapses. This loop is what gives the Bruiser his brawler identity — every other employee in the confirmed roster either moves (Glider, Scrapper, Wrangler) or supports (Mycologist) instead of standing still on purpose.
What the Developer Has Not Published
The studio has confirmed both ability names but not the cooldown timers, the shield health pool, the radius of the slam, or how either tool scales across the employee level track. The employee levels explainer confirms the cap is level 30, but the per-level stat gains for the Bruiser are not on the public sheet. If you are planning a build that depends on a specific cooldown, plan to test it yourself in the HUB practice range and adjust.
Best Weapon Pairings for a Bruiser Build
The confirmed weapon roster at 1.0 includes the G6 Streetsweeper, A16 Beam Ripper, Laser Cannon, The Last Argument, Shocklance, Diffraction Driver, Au-Si Jackrabbit, Carver, Cycler, Swarm Launcher, Lead Flinger, DMLR, Globbler, Accelerator, Gunship Cannon, Trident, and Plate Launcher. That is a deep pool, and the Bruiser naturally filters it down to a shortlist of close-to-mid-range options that work inside his Shield Projector window.
| Weapon | Range Profile | Why It Fits the Bruiser | Watch Out For |
|---|---|---|---|
| DMLR | Short-mid | High single-target damage, fast reload under Shield Projector | Punishes you if you over-peek |
| Accelerator | Short-mid | Mobile firing lets you Nose Dive and keep shooting | Combustive Rounds rename (was Explosive Bullets) takes a moment to read in the Codex |
| Cycler | Short | High burst at point-blank; matches the slam window | Magazine feels small if you cannot chain |
| Lead Flinger | Short-mid | Reliable stagger on grouped adds | Loses value at long sightlines |
| Globbler | Short | Area coverage around the slam radius | Slow projectile arc demands anticipation |
| Diffraction Driver | Short (cone) | Alt-fire spins up a tighter cone — strong for a held brawl | Unlocks at player level 10; cone needs ramp-up |
The two ranged employees (Glider with his wingsuit, Wrangler with his Air Dash) usually want long sightline weapons — the Laser Cannon or Gunship Cannon, both of which reward positioning that the Bruiser does not have. The Scrapper, who shares the Bruiser's mid-range, leans into the Shocklance and its Storm's Eye upgrade (the only fully-named Shocklance-specific upgrade the developer has published). The Bruiser's lane is shorter and chunkier.
If you are still learning the loop, a forgiving starting pair is DMLR primary + Cycler secondary. Both work inside the Shield Projector bubble, both reward a Nose Dive entry, and neither punishes you for a missed alt-fire the way the Diffraction Driver's cone ramp-up does. Once you have the rhythm down, swapping one slot for the Lead Flinger gives you better crowd control on Amalgamation Hunt and Abomination Assault pulls.
Grenades That Complement the Bruiser
The confirmed grenade list at 1.0 is the Photon Disc, Incendiary Grenade, Voltaic Grenade (renamed from Shock Grenade), Caustic Grenade (renamed from Acid Grenade), and the Snowball Grenade unlocked from X11-B. Of those, the Bruiser gets the most mileage from the two with the widest area denial: the Photon Disc for blocking a revive tunnel, and the Voltaic Grenade for stunning a clustered Abomination spawn before a Nose Dive.
A note on the 1.0 rename: the older "Shock Grenade" and "Acid Grenade" names still float around in older community clips and in some preload builds. The current in-game names are Voltaic Grenade and Caustic Grenade — if you are trading tips with other players, the new name is what will actually spawn.
How the Bruiser Plays in a Four-Player Squad
The Bruiser is not a solo employee by design — the game is a mission-based 4-player co-op looter shooter, and the Bruiser's Shield Projector is built to cover a revive or a totem channel as much as it is built to cover himself. In a full squad, the role splits cleanly: ranged employees take the first shot, the Bruiser dives in once the pack clumps on the totem, and the support employee cleans up the survivors.
A few squad patterns that work well with the Bruiser at 1.0:
-
Bruiser + Glider + Scrapper + Wrangler. The Glider rains damage from his wingsuit angle, the Scrapper zips in to finish wounded targets with his jetpack, the Wrangler's lasso drags a priority enemy into the slam radius, and the Bruiser Nose Dives onto whatever is left. This is the most aggressive "all-DPS" composition and it shows up often in public lobbies.
-
Bruiser + Glider + Scrapper + Mycologist. The Mycologist's Sporelift and Fungal Skewer (with the Infection passive) anchor the backline, the Glider holds the high ground, the Scrapper flanks, and the Bruiser is the single point of contact. This is the safer option for an Escalation or Amalgamation Hunt run at Threat 5+.
-
Bruiser + Bruiser + Scrapper + Glider. Two Bruisers with overlapping Shield Projectors can hold a chokepoint against an Abomination Assault pull for an entire timer. The third slot is flex — a Wrangler for lasso, or a Mycologist for support.
If you are new to the squad game, the beginner guide for Mycopunk covers lobby etiquette and the basics of how a four-person co-op session actually starts. The short version is that you queue into the HUB, pick a mission from the board, and drop in as a squad — and the Bruiser's value to that squad is directly proportional to how well you hold the Shield Projector over your teammates.
Leveling, Skins, and When the Bruiser Build Comes Online
The Bruiser follows the same employee progression as every other confirmed character. Levels cap at 30, and the upgrade rotation unlocks Standard at level 3, Rare at 8, Epic at 16, and Exotic+ at 30. That curve is shared across the cast, so the Glider and the Scrapper feel the same gear-jump windows; the difference is what you spend those unlocks on.
For the Bruiser specifically, the meaningful breakpoint is level 10, which is when the Diffraction Driver joins the weapon pool. The Bruiser can use it from day one he has access, and the alt-fire halo is a natural fit for a held brawl behind a Shield Projector. The second breakpoint is level 16, when Epic upgrades start rotating in — a meaningful power spike for any frontline build. The level 30 Exotic+ window is where the Bruiser's ceiling lives, and the Pattern Infuser in the HUB is the route to those rolls.
On skins, the only confirmed Bruiser-specific cosmetic is the Brawler skin. The shared cosmetic pool — Crystalline, Rainbow, Skeletal Ghost, Entombed, Uniform, and the Chrome skin from the Supporter Pack DLC — also applies. There is no confirmed "Bruiser-only legendary" beyond Brawler; if a guide claims one, that is community speculation, not a developer fact.
A Practical Leveling Path for New Bruiser Players
If you are starting the Bruiser from scratch, the most efficient path the developer has confirmed looks like this:
| Step | Action | Why It Matters |
|---|---|---|
| 1 | Reach player level 10 | Unlocks the Diffraction Driver, the Bruiser's strongest confirmed weapon pairing |
| 2 | Run Escalation missions at Threat 3-4 | Steady Antimass income for Pattern Infusion without the modifier pressure of Threat 6+ |
| 3 | Spend Antimass at the Pattern Infuser | Target Epic-tier upgrades before chasing Exotic+ |
| 4 | Push employee level 16 | Epic rotation opens; the Bruiser's Shield Projector window starts feeling comfortable |
| 5 | Attempt X11-B missions at Threat 5+ | The new region is the Bruiser's hardest test — it is the 1.0 high-difficulty zone with tougher enemies and periodic electromagnetic storms that disable abilities |
Threat levels go from 1 to 7 only. There is no Threat 8 — the developer noted in 1.10.1 that it "isn't a thing (yet)," so do not plan a build around a hypothetical higher tier. If you see a Threat 8 listing in a third-party tool, it is either a bug or an old beta number.
Bruiser vs. the Rest of the Roster: When to Pick Him
The honest answer is that the Bruiser is the right pick for the fights where staying in one place is a win condition. Revive chains, totem channels, extraction timers, and chokepoint rooms all reward the Shield Projector more than they reward the Glider's wingsuit mobility or the Wrangler's Air Dash. On open maps with long sightlines, the Glider outranges him; on escort routes with constant turning, the Scrapper's jetpack repositioning is faster; on objectives that demand single-target lockdown, the Wrangler's lasso is the cleaner tool.
The Bruiser's edge is in the Abomination-and-Amalgamation tier of enemy — the big, slow, bullet-spongy targets where his per-shot damage output from the DMLR or Accelerator compounds and the Shield Projector keeps him alive long enough to actually use it. The first hour of play, in particular, is forgiving on the Bruiser because most of the early rooms are designed around teaching movement, and the Bruiser's lack of traversal is less punishing when the rooms are small. The first hour guide covers this ramp in more detail if you are still deciding which employee to start with.
If you are a solo player, the Bruiser is also one of the more comfortable picks because his Shield Projector doubles as a panic button during the brief tactical pause the game offers in singleplayer. The HUB reworked in 1.0 also gives solo players a quieter place to test rotations before queueing into public lobbies.
Closing Notes on the Bruiser at 1.0
The Mycopunk Bruiser is a deliberately narrow employee: short range, high soak, no traversal, and a kit that rewards committing to the slam. The confirmed pieces — Nose Dive, Shield Projector, the 30-level cap, the level-10 Diffraction Driver unlock, the Brawler skin — are enough to build a working frontline around, and the gaps in the published sheet (cooldowns, scaling, exact upgrade trees) are honest unknowns, not secret mechanics the developer is hiding. Treat any number you see in a video that is not from the official Steam page, the Pigeons at Play YouTube channel, or the devlog on mycopunkgame.com as community estimate rather than fact.
The clearest signal of what the Bruiser is for shows up in the squad compositions that win the toughest missions. When a four-person lobby is rolling a Threat 6 Escalation or an Amalgamation Hunt timer, the squad that holds the chokepoint is the squad with a Bruiser in the middle of it. The rest of the roster flies, dashes, lassos, or supports — the Bruiser stands.
Frequently Asked Questions
What abilities does the Mycopunk Bruiser have?
The developer has confirmed two abilities for the Mycopunk Bruiser: Nose Dive and Shield Projector. Exact cooldowns, damage numbers, and scaling per employee level have not been published, so any precise number you see elsewhere is community estimate. Nose Dive is the gap-closer and burst tool, and Shield Projector is the defensive bubble that lets him hold a position.
How do I unlock the Bruiser in Mycopunk?
The Bruiser is one of the four starting employees available from your first mission — you do not unlock him. The fifth employee, the Mycologist, is the gated one, and that unlock requires completing the Expedition Alpha rescue mission. The Bruiser is on the character select screen from the moment you open the game.
What is the best weapon for a Bruiser build?
The strongest confirmed pairing is the DMLR for primary and the Cycler for secondary, both of which work inside the Shield Projector window. The Diffraction Driver (unlocked at player level 10) is the highest-skill ceiling option because its alt-fire halo extends range and tightens the cone, which rewards the kind of held brawl the Bruiser is built for. For new players, DMLR + Cycler is the safer starting pair.
Can the Bruiser solo the hardest content in Mycopunk?
Yes, but with caveats. The game supports singleplayer with a brief tactical pause, and the Bruiser's Shield Projector is one of the better panic tools for that mode. The toughest pulls — X11-B missions at Threat 5+ and Amalgamation Hunt timers — are much faster with a full squad, where a Glider provides ranged cover and a Scrapper or Wrangler can peel priority targets. Solo Bruiser clears are possible but slower.
Does the Bruiser have a unique skin?
Yes. The Brawler skin is the only employee-specific cosmetic the developer has confirmed for the Bruiser. He also has access to the shared cosmetic pool — Crystalline, Rainbow, Skeletal Ghost, Entombed, Uniform, and the Chrome skin from the Supporter Pack DLC. No further Bruiser-exclusive skins have been published as of the October 2026 launch.