
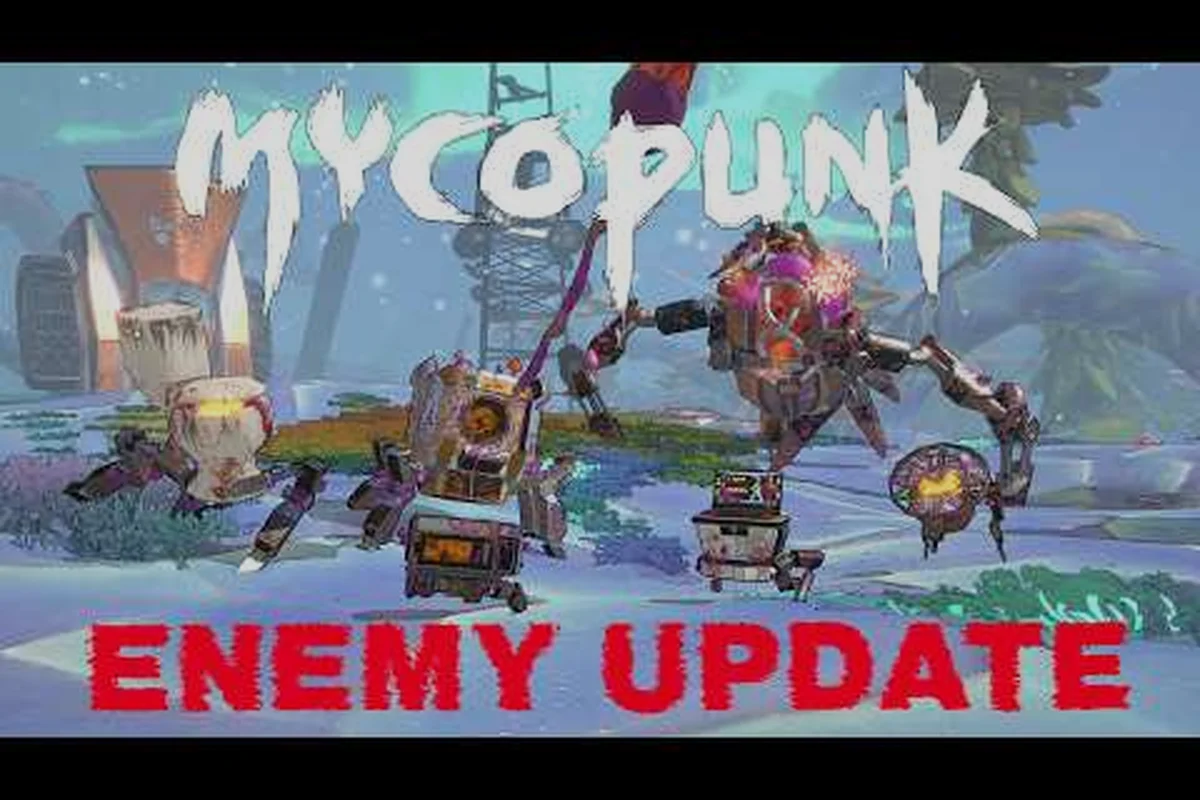
Walk into any Threat 6 or Threat 7 mission in Mycopunk and the difference is immediate: the enemy shells feel thicker, the cores pulse brighter, and the weak points you learned to exploit at Threat 3 stop one-shotting the way they used to. Those buffed-up versions of standard enemies are the overclocked variants, and understanding the split between their outer shell, inner core, and exposed weak point is what turns a chaotic bullet sponge fight into a clean five-second burst window.
This guide breaks down what overclocked enemies actually do differently in the 1.0 build, how cores and shells interact with damage types, and where weak points tend to spawn on the toughest Abominations you will run into. The goal is to give you a working mental model for how enemy density and scaling layer on top of that, so you stop dumping the entire magazine into a glowing chest and start finishing kills in fewer shots.
How Overclocked Enemies Work in Mycopunk
Overclocked enemies are the upgraded variants of standard foes that begin appearing in higher-threat missions. At the type level, an overclocked enemy is built from three observable layers: an outer shell, an inner core, and at least one exposed weak point. Each layer responds to damage differently, and the interaction between the three is what makes overclocked enemies feel like bullet sponges until you learn to peel them in the right order.
The shell is the first barrier. It takes reduced damage from most weapon types and tends to have the largest hitbox, which is why newer players unload into the glowing red mass and wonder why nothing dies. The core sits beneath the shell and is only meaningfully damaged once the shell has been cracked, exposed, or stripped. The weak point is the third element — a small, often pulsing target that ignores shell damage reduction entirely and is the fastest path to a stagger or kill. Recognizing which part of the enemy you are aiming at is the foundation of every other tip in this guide.
One important caveat: Mycopunk launched version 1.0 on October 20, 2026, and the developer, Pigeons at Play, has not yet published a full mechanical breakdown of how the three layers interact numerically. The descriptions here are based on the observable behavior of overclocked variants during the launch window and on community testing reported by early players.
The Three-Layer Anatomy
| Layer | Visual Cue | Damage Behavior | Priority |
|---|---|---|---|
| Shell | Outer plating, often glowing rim | Takes reduced damage; resists most direct hits | Strip or crack first |
| Core | Inner pulsing mass, exposed after shell breaks | Vulnerable to sustained fire and elemental effects | Burn down second |
| Weak Point | Small bright orb, antenna, or exposed joint | Takes full damage, often triggers stagger | Always top priority |
The priority column is the most important takeaway: weak points are always top priority, shells are a barrier to ignore or strip, and cores are the body you actually need to burn down once the shell is gone. The Mycopunk enemy modifiers guide covers how mission-level buffs stack on top of this base anatomy.
Where Overclocked Variants Start to Appear
Overclocked enemies are not in every mission. They begin showing up in the mid-threat range and become the dominant population in late-game Amalgamation Hunt and Abomination Assault runs. The game uses a 1-7 threat scale, and the developer has explicitly noted that Threat 8 is not a thing in the current build, so you do not need to plan for an eighth tier of difficulty.
The threat level is also tied to the drop rate for high-tier resources. According to the official game data, Saxonite has roughly a 60% drop chance at Threat 7, which is also where the highest density of overclocked variants lives. That overlap is intentional: harder enemies and better rewards sit in the same missions.
Enemy Cores, Shells, and Weak Points Explained
Once you know the three layers exist, the next question is what each one actually does in combat. Below is a closer look at how cores, shells, and weak points behave in Mycopunk's 1.0 build, including the damage types that interact with them and the visual cues that tell you which layer you are currently hitting.
Shells: The Outer Barrier
The shell is what most players see first and shoot at longest. Visually, it is the armored outer layer that gives overclocked enemies their bulky silhouette. Mechanically, it acts as a damage sponge with built-in resistance to most weapon types, which is why a full magazine from a mid-tier weapon can feel like it does almost nothing.
Shells are not indestructible. Sustained fire from high-tier weapons, elemental effects, and certain upgrades will crack or strip them, which exposes the core underneath. The exact threshold for shell cracking has not been published by the developer as of the October 2026 launch, but community testing suggests that elemental damage — particularly cryo and plasma — is one of the most reliable ways to break shells open. If you want a deeper look at cryo specifically, the Mycopunk cryo build breakdown covers how freeze and shatter effects interact with armored targets.
| Element | Shell Interaction | Notes |
|---|---|---|
| Cryo | Freezes and cracks shell on repeated hits | Reliable strip method reported by players |
| Plasma | Chains and arcs across shell plating | Good for groups of armored foes |
| Acid / Caustic | Softens shell over sustained exposure | Renamed from Acid Grenade at 1.0 |
| Shock / Voltaic | Partial strip plus stun | Renamed from Shock Grenade at 1.0 |
| Rot | Slows but rarely strips | Best used in combination with direct fire |
Cores: The Body You Actually Kill
The core is the part of the enemy you need to destroy to register a kill. It is exposed once the shell has been cracked or stripped away, and at that point it behaves more like a standard enemy's health bar — it takes normal damage from your weapons and falls to sustained fire reasonably quickly.
The reason cores feel tough is that most players never strip the shell in the first place. They dump rounds into the outer plating, the shell absorbs the damage, and the core never takes meaningful hits. Once you learn the visual cue for an exposed core (a brighter, often pulsing inner mass), the time-to-kill on overclocked variants drops sharply. Community testing on launch-week missions suggests that ignoring the shell entirely and instead landing weak-point shots can cut the effective time-to-kill by a wide margin compared to body shots.
Weak Points: The Fast Path
Weak points are small, exposed targets that ignore the shell's damage reduction. They are typically located on joints, antennae, exposed spines, or glowing orbs that pulse in time with the enemy's telegraphed attacks. Hitting a weak point during an attack animation frequently triggers a stagger, which opens a free burst window for your team to pour damage into the now-unshielded core.
The general rule is to lead with weak-point shots, follow up with whatever elemental effect strips the shell fastest, and reserve your heavy-hitting cooldowns for the moment the core is exposed. The Mycopunk enemy spawns reference catalogs which named enemies have visible weak points in their standard variants, which is a useful baseline before you start looking for the overclocked versions.
Abominations, Scaling, and Why They Feel Like Bullet Sponges
Abominations are the named boss-tier enemies in Mycopunk, and they are the most common test case for the core/shell/weak-point system. They have a 30-second amalgamation timer associated with their spawn behavior, and at higher threat levels they appear alongside large numbers of standard overclocked mobs. That combination — high HP boss plus inflated trash density — is what produces the "bullet sponge" feeling most players describe.
Why Abominations Resist Damage
The reason Abominations feel like bullet sponges is layered defense. The shell layer absorbs most of the incoming damage, the core sits behind it with the bulk of the actual health pool, and the weak point is small enough that random body shots rarely connect. On top of that, enemy scaling in Mycopunk 1.0 increases the raw health and damage values of every enemy in the mission as the threat level rises, which is the second multiplier on top of the overclocked variant's built-in resistance.
Enemy density adds a third layer of pressure. Higher threat levels spawn more enemies per room, which means your team is splitting attention between the Abomination and the surrounding mob. That pressure forces mid-fight reloads, interrupts burst windows, and makes it harder to land consecutive weak-point shots. When players describe a fight as "spongy," they are usually reacting to all three layers stacking at once: tougher individual enemies, higher counts of those enemies, and a boss with a built-in damage gate on top.
| Factor | Effect on Fight Length | Counter |
|---|---|---|
| Shell damage reduction | Extends time-to-kill on every body shot | Use elemental strip or weak-point shots |
| Core HP scaling | Grows with threat level | Burst cooldowns into exposed core window |
| Weak point size | Hard to hit consistently | Aim during attack animations, not idle stances |
| Enemy density | Splits team focus and reload windows | Focus fire priority targets first |
| Mission modifier buffs | Stacks on top of scaling | Check modifiers before engaging |
How to Kill Abominations Faster
The fastest way to kill an Abomination is to treat the fight as a sequence of three phases. In phase one, you and your team focus fire on the weak point whenever it is exposed, ideally during one of the boss's telegraphed attacks. Each stagger opens a brief window where the shell is effectively bypassed. In phase two, you stack elemental effects — cryo and plasma are the most commonly cited — to crack or strip the shell, exposing the core. In phase three, the entire team dumps heavy-hitting cooldowns into the exposed core, ideally while the boss is still staggered from a recent weak-point hit.
This is the same advice that holds for any high-health overclocked enemy, but it matters most on Abominations because their health pool and damage output make a sloppy approach lethal. The Amalgamation Hunt rewards breakdown lists the named Abomination variants you will encounter, including the Abomination Lacerator, and outlines the loot you can expect from a clean kill.
Reading the Scaling Curve
Enemy scaling in Mycopunk 1.0 follows the threat level you select at mission start, and the jump from Threat 4 to Threat 7 is where most players first feel the difference. Below Threat 4, overclocked variants are rare and the core/shell/weak-point structure is mostly background flavor. From Threat 5 upward, the structure starts to matter because the shell's damage reduction is no longer something you can ignore.
The developer has not published a precise scaling formula as of launch, but the observable behavior is consistent: each step up in threat increases the shell's effective HP more than the core's, which means the wrong strategy (body shots only) gets punished more heavily as you climb. Community testing on the October 2026 launch build suggests that Threat 7 missions demand the three-phase approach described above, while Threat 5 missions are still forgiving enough that raw damage output can carry a fight.
Practical Loadout Choices for Overclocked Fights
The right loadout makes a meaningful difference in how quickly you can crack shells, expose cores, and land weak-point shots. The exact upgrade names for most weapons have not been published by the developer — for example, the Diffraction Driver's upgrade list is unpublished, and the Snowball Grenade's upgrade list is unpublished as of the 1.0 launch — so the recommendations below stay at the type level rather than naming specific tiers.
The goal is to build a loadout that covers three jobs: stripping shells, bursting exposed cores, and creating the stagger windows that let your team land weak-point shots. Most successful late-game builds cover at least two of these jobs on a single weapon and the third through a grenade or ability.
| Role | Weapon Type | Grenade/Ability | Best Used On |
|---|---|---|---|
| Shell stripper | Cryo or plasma weapon | Snowball Grenade (1.0, unlocked from X11-B) | Armored crowds |
| Core burster | High-DPS hitscan or shotgun | Voltaic or Caustic Grenade | Exposed core after stagger |
| Stagger enabler | Mid-range precise weapon | Ability with stun or slow | Weak-point bait during telegraphs |
| All-rounder | Weapon with strong base damage | Whatever grenade matches your element | Mixed-threat lobbies |
A few notes on the X11-B mention above. The Snowball Grenade is unlocked from X11-B, which the developer describes as a moonlet of New Atlas, a 1.0 high-difficulty region with tougher enemies and periodic electromagnetic storms that disable abilities. The only detail the developer has published about the Snowball Grenade's upgrades is a tongue-in-cheek note that a favorite upgrade lets you roll it down a hill to gain size like a cartoon. Anything beyond that type-level description is speculation and should not be cited as fact.
Element Synergies to Prioritize
The developer has published a partial list of elements and status effects in Mycopunk, including cryo, plasma, acid, rot, blood, shock, bees, and water, while explicitly noting that a complete closed list of elements has not been published. Within that partial set, the synergies that matter most for overclocked fights are cryo plus plasma for shell stripping, shock plus acid for chaining damage across groups, and rot plus blood for sustained pressure on a single target.
Cryo is particularly effective because frozen enemies take increased damage from the next source, which means a cryo strip followed by a heavy burst can effectively skip the shell phase of the fight. The Snowball Grenade pairs naturally with that approach, although, as noted above, its upgrade list is unpublished and you should not expect specific named effects beyond the type-level roll-it-down-a-hill reference.
When to Use Abilities vs. Weapons
In X11-B and other ability-disabling environments, your weapon loadout matters more than usual. The X11-B region periodically runs electromagnetic storms that disable abilities, so a build that leans too heavily on grenades, class abilities, or turret effects will hit a hard wall during those windows. In those missions, a weapon-driven build that can strip shells and burst cores without ability support is significantly more reliable.
Outside of X11-B, the same weapon-driven approach is still strong, but you have the option to use abilities for stagger windows and burst damage. The Wrangler's Air Dash, the Bruiser's Shield Projector, and the Glider's Wingsuit repositioning are all utility tools that buy you time to land weak-point shots, and pairing them with a shell-stripping weapon is a reliable late-game formula.
Enemy Density, Threat Level, and Mission Modifiers
The last piece of the overclocked enemy puzzle is the mission context. Enemy density, threat level, and mission modifiers all stack on top of the three-layer anatomy described above, and understanding how they interact is what separates a clean Abomination clear from a squad wipe.
How Density Changes the Fight
Enemy density is the number of enemies the mission spawns per room, and it scales upward alongside threat level. At Threat 1 or 2, rooms are sparsely populated and the core/shell/weak-point structure is mostly academic. By Threat 6 or 7, rooms are packed with overclocked variants plus standard mobs, and the team has to constantly triage which targets to focus first.
A common mistake is to engage the Abomination first while the surrounding mobs are still up. The more reliable approach is to clear the room of trash first, then pull the Abomination into the open, and only then start the three-phase weak-point/strip/burst cycle. Pulling the boss into a cleared room removes the attention-splitting pressure and lets your team land consecutive weak-point shots.
How Threat Level Modifies Enemies
Threat level is the master dial for enemy difficulty in Mycopunk, and it sits on a 1-7 scale. Each step up increases enemy HP, damage, and density, and from Threat 5 onward, the shell's damage reduction becomes punishing enough that raw damage output stops being enough on its own. Threat 7 is the practical ceiling for most players, and it is also the tier where Saxonite's roughly 60% drop rate makes the reward worth the grind.
The developer has explicitly stated that Threat 8 is not a thing in the current build, so you do not need to plan around a hypothetical eighth tier. If you are hitting a wall at Threat 7, the answer is almost always a loadout adjustment rather than waiting for a higher tier to unlock.
Mission Modifiers Worth Watching For
Mission modifiers are the per-mission buffs and debuffs that stack on top of the threat level. Some modifiers increase enemy health, some increase enemy damage, and some change elemental resistances. Because modifiers stack with the base scaling, they can push a normally manageable fight into bullet-sponge territory even on a threat level your team is comfortable with.
The most reliable counter for a punishing modifier set is to check the modifier list before engaging the boss, and to adjust your element choices accordingly. If the modifier buffs enemy shock resistance, for example, swapping your shock-driven shell stripper for a cryo-driven one is a meaningful time save. The Mycopunk beginner guide covers the broader modifier system for players who are still learning the mission select screen.
Frequently Asked Questions
What are overclocked enemies in Mycopunk?
Overclocked enemies are upgraded variants of standard foes that appear in mid-to-high threat missions, and they are built from three observable layers: an outer shell that resists most damage, an inner core that takes normal damage once exposed, and a weak point that ignores the shell entirely. The first key to killing them quickly is recognizing which layer you are aiming at and peeling them in the right order.
Where do weak points spawn on overclocked enemies?
Weak points typically appear on exposed joints, antennae, spines, and pulsing orbs, and they are easiest to hit during the enemy's telegraphed attack animations. Leading with weak-point shots and following up with elemental shell strippers is the most reliable way to open stagger windows, and the Mycopunk enemy spawns reference catalogs which named enemies have visible weak points at the type level.
How do I kill Abominations faster in Mycopunk?
Treat the fight as three phases: land weak-point shots during telegraphed attacks to trigger staggers, use cryo or plasma to crack the shell and expose the core, and dump heavy-hitting cooldowns into the exposed core while the boss is still staggered. This sequence is what cuts the time-to-kill on Abominations and is the same approach that works on any high-health overclocked variant.
Does enemy scaling affect overclocked enemies more than standard ones?
Yes. The shell's effective HP scales more steeply with threat level than the core's, which means the wrong strategy (body shots only) gets punished more heavily as you climb toward Threat 7. Community testing on the October 2026 launch build suggests that the three-phase weak-point/strip/burst approach is mandatory from Threat 6 upward, while Threat 5 still forgives raw damage output.
Which elements are best for stripping overclocked enemy shells?
Cryo and plasma are the most commonly cited shell strippers in community testing, with cryo freezing and cracking the plating on repeated hits and plasma chaining across armored groups. The Snowball Grenade, unlocked from X11-B, pairs naturally with that approach, though the developer has only published a single type-level note about its upgrades and the full list is unpublished as of the 1.0 launch.