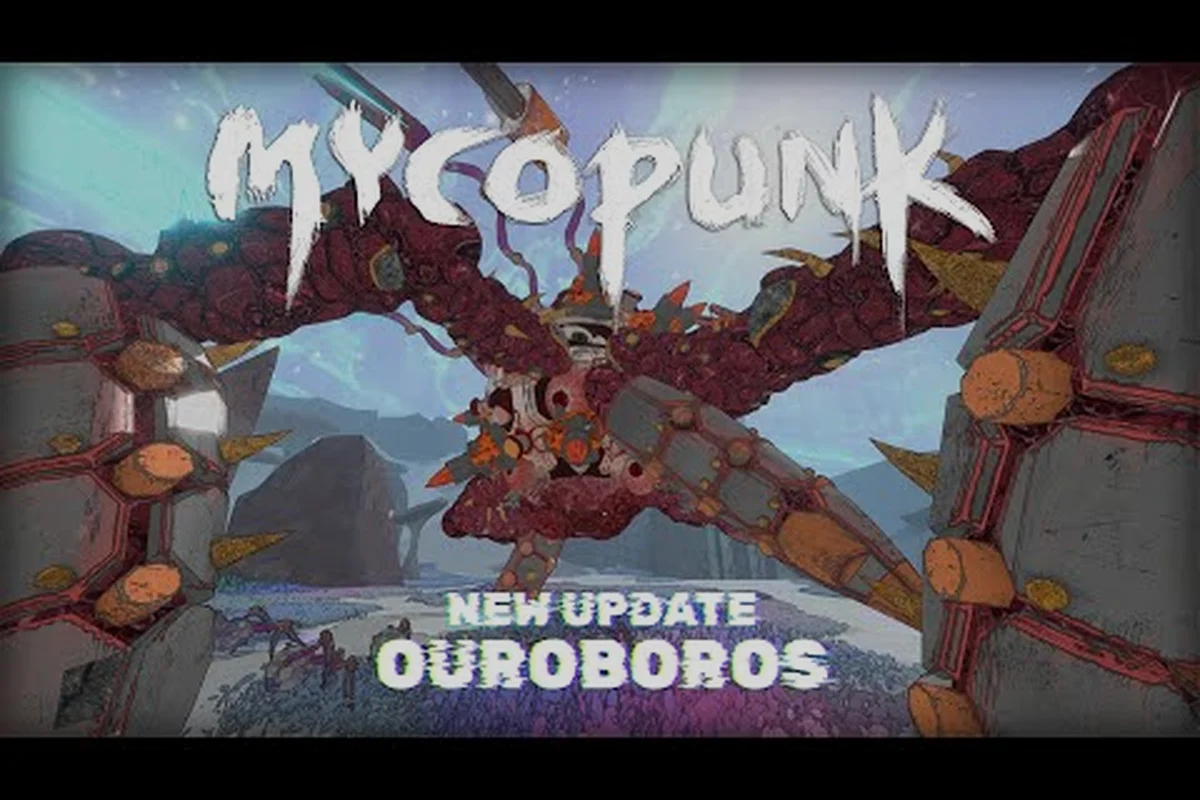
Ouroboros is Mycopunk's roguelike mission mode where every run starts by clearing your permanent upgrade slate and forces you to rebuild a loadout room by room. The mode was tuned aggressively in updates 1.6.6 and 1.9.2, so older guides describing runaway boss health or frozen bosses no longer match what the game ships with. This guide breaks down the current Mycopunk Ouroboros loop, how the mode interacts with Mycopunk escalation modifiers, which Mycopunk regions (including the Desert and the new Mycopunk x11 b moon) stretch your run the longest, and what Mycopunk threat 7 actually demands from a squad.
How Mycopunk Ouroboros Works in Patch 1.9.2
Ouroboros launches you into a procedurally assembled run where the upgrades you have earned through the Pattern Infuser, Turbocharge purchases, and Armament License progression are temporarily wiped from your loadout. As you clear rooms, you find new upgrades in the wild and equip them on the fly. At the end of the run, a subset of those upgrades can be "cleansed" and kept permanently, which is the main progression hook the mode offers beyond leaderboard-style bragging rights.
The mode is built on a small set of rules that are easy to internalize once you have run it two or three times. The table below summarizes the core loop using only mechanics the developer has published in official update notes and the mode's launch announcement.
| Element | What Ouroboros Does | Source |
|---|---|---|
| Starting loadout | Temporarily clears your permanently unlocked upgrades | 1.0 Ouroboros launch notes |
| Stackable upgrades | Almost every upgrade is stackable inside Ouroboros runs | 1.0 Ouroboros launch notes |
| Discovery | You can find upgrades you have not yet unlocked permanently | 1.0 Ouroboros launch notes |
| Cleansed upgrades | End-of-run cleanses let you keep a subset permanently, with no resource cost | 1.6.6 patch notes |
| Contraband rarity | An upgrade tier exclusive to Ouroboros | 1.0 Ouroboros launch notes |
| Oddity upgrades | Much more common in Ouroboros, but expensive to cleanse | 1.0 Ouroboros launch notes |
| Ouroboros Blitz | A 13-room short variant of the mode | Verified number from official facts |
| Wave ceiling | Maximum enemy waves per room dropped from 3 to 2 in 1.6.6 | 1.6.6 patch notes |
| Boss scaling | Boss health now increases much slower, with a lower max, and barely climbs with extra players or higher threat | 1.6.6 patch notes |
| Continue bug | A bug preventing normal runs from continuing after killing the Amalgamation was fixed in 1.9.2 | 1.9.2 patch notes |
The 1.6.6 tuning pass is the single biggest change to the mode after launch. Boss health used to scale hard enough that, combined with high threat multipliers, a four-player squad could find itself chunking an Amalgamation or Abomination for minutes. The current curve keeps late-run bosses challenging without making them feel like sponges, and the wave-count reduction means each room clears faster even when you decide to push for full clears.
The 1.9.2 hotfix is smaller but matters if you have been bounced out of runs in the past week. According to the official 1.9.2 announcement on Steam, a bug where normal Ouroboros runs refused to continue after killing the Amalgamation was fixed, Ouroboros bosses stop freezing in place, region-specific resources now show up correctly on the New Atlas mission hover, and Paid Time Off spawns in every region again. If you remember a run that died because the boss would not move or the next portal would not open, that is the bug 1.9.2 squashed.
Start-of-Run Rarity Bias at Higher Threats
One detail that gets lost in the launch announcement is that starting upgrades are biased by threat level. The 1.6.6 notes state that upgrades granted at the start of a run skew to higher rarities on higher threat levels. In practice that means a Mycopunk threat 7 run usually hands you an Epic or Exotic to anchor your build before you fire a shot, while a threat 3 run is much more likely to start you on Standard-tier filler. If you want to test how a specific build feels under pressure, jumping straight to threat 7 Ouroboros is now a reasonable training ground rather than a softlock waiting to happen.
Scaling, Boss Health, and the Threat 7 Ceiling
The phrase "threat 7" gets thrown around in Mycopunk's community as shorthand for "the game is trying to kill you," and that is largely correct. Threat level tops out at 7 in the current build — the developer has explicitly noted in 1.10.1 that "threat 8 isn't a thing (yet)" — so when you see "threat 7+" in a guide, it means the maximum-difficulty version of a mission, not a hidden tier above it.
Scaling in Ouroboros is layered: the room-by-room upgrade lottery, the threat multiplier on enemy stats, and the boss-health curve that 1.6.6 reined in. The table below compares how those layers stack up across threat levels, using only the numbers the developer has published.
| Threat Level | Boss Health Modifier | Starting Upgrade Rarity Bias | Wave Ceiling | Saxonite Drop (approx.) |
|---|---|---|---|---|
| 1 | Lowest curve point | Mostly Standard | Up to 2 waves per room | The developer has not published per-threat Saxonite values |
| 3 | Mid-low curve | Mix of Standard and Rare | Up to 2 waves per room | Unpublished per threat |
| 5 | Mid-high curve | Common Rare, occasional Epic | Up to 2 waves per room | Unpublished per threat |
| 7 | Highest published curve, still much lower than pre-1.6.6 | Frequent Epic and Exotic starts | Up to 2 waves per room | Roughly 60% per kill at threat 7 |
| 8 | Does not exist | Does not exist | Does not exist | Does not exist |
Saxonite deserves a quick mention because it is the only per-threat drop number the developer has actually published. The official facts list an approximate 60% Saxonite drop chance at threat 7, which is high enough that threat 7 Ouroboros runs double as a resource grind if you are short on Antimass Substrate for the Pattern Infuser. Whether threat 6 or threat 5 match that figure has not been published, so do not assume a linear ramp.
Boss tuning at threat 7 is where 1.6.6 really shows its value. Before the patch, scaling compounded with the threat multiplier hard enough that even coordinated squads would sometimes watch an Amalgamation timer tick down while barely scratching its health bar. Now the health curve increases much slower, plateaus lower than before, and barely climbs when you add a fourth squadmate or bump the threat up further. The Amalgamation's 30-second timer remains a hard deadline regardless of tuning, so faster boss kills still matter, but you are no longer racing a stat wall on top of the timer.
Mycopunk Regions and How They Stretch a Run
The mode pulls rooms from the standard Mycopunk regions map, and which region you start in has a real effect on how long your run feels. Some regions have tight corridors that push straight into combat, while others have long sightlines and open layouts that encourage kiting — and that difference compounds once you start chaining rooms at high threat.
The table below summarizes the regions Ouroboros can draw from, using the official region list rather than community nicknames. Room counts per region are not published, so the "Run Feel" column is a structural description rather than a hard number.
| Region | Map / Variant | Run Feel | Notable Modifier |
|---|---|---|---|
| Gravity Farm(s) | Shipping Lane | Open lanes, frequent Dropship arrivals | None published |
| Moldy Tundra | Sunken Highlands variant | Vertical terrain, rot element common | None published |
| Ice Floes | — | Wide sightlines, cryo element common | The developer has not published a per-region modifier |
| The Swamp | — | Tight corridors, water element common | Unpublished |
| Desert / Flourishing Desert | Achievement page lists "Desert" | Long sightlines, plasma and acid common | Unpublished |
| City / Titan City | City Outskirts variant | Mixed indoor and rooftop combat | Unpublished |
| X11-B | Moonlet of New Atlas | 1.0 high-difficulty region, tougher enemies | Periodic electromagnetic storms disable abilities |
The Mycopunk desert region is one of the more polarizing starting areas. Its open sightlines let you see incoming waves early, which is helpful when the wave ceiling is set to 2 and you want to thin the spawns before they reach your squad, but the same openness gives snipers and long-range enemies like Missilehead and Rocket Grunt plenty of room to pressure you. Desert runs tend to reward builds that can close distance fast — Scrapper with the Jetpack, Wrangler with Air Dash, or any squad using the Blitseg hover bike to reposition.
X11-B is the newcomer and the hardest published region. As a moonlet of New Atlas, it is where the 1.0 high-difficulty content lives, enemies are tougher than the surface maps, and periodic electromagnetic storms disable abilities. That last point interacts painfully with Ouroboros, because some of the cleanest builds rely on ability procs to stay alive. If your run starts dropping you into X11-B rooms late, save mobility cooldowns for storm windows rather than burning them on a wave you could have shot down with guns alone. The developer has not published a room count for X11-B, so treat any guide that claims a specific number of rooms per X11-B Ouroboros stretch as speculation.
One small but useful cross-reference: the Mycopunk procedural levels overview covers how the Drop Pod sequences rooms across these regions, which is the underlying logic Ouroboros inherits. Understanding the sequencing helps you predict whether your next two rooms are likely to be open Desert or tight City corridors, and that prediction feeds straight into which upgrade you pick off the floor.
Escalation, Modifiers, and Building for Long Waves
Ouroboros and Mycopunk escalation are sometimes confused, but they stack. Escalation is a mission family in its own right — you can see it alongside Incursion, Paid Time Off, and the others on the mission types list — and it layers difficulty modifiers on top of whatever region and threat you select. When you launch an Escalation variant of Ouroboros, you are essentially running the roguelike loop with a modifier cocktail applied to every room.
The developer has not published a closed list of Escalation modifiers, but the published design space is wide enough that it is worth treating each run as a different puzzle. Some modifiers you may see, based on what the mode's launch notes and community testing have surfaced, are summarized below. Any modifier that is not on this list is either not yet published or has not been independently verified.
| Modifier Type | What It Typically Does | How to Build Around It |
|---|---|---|
| Tight waves | Higher enemy density in the already-reduced 2-wave ceiling | AoE weapons like the Trident, Cluster effects, Incendiary Grenade |
| Glass cannons | Enemies hit harder but die faster | Stack damage upgrades, prioritize finishing wounded foes before they reach you |
| Slowed abilities | Ability cooldowns stretched | Lean on weapon damage and Snowball Grenade rolls rather than ability procs |
| Element-locked rooms | A single element dominates (cryo, plasma, acid, rot, blood, shock, bees, or water) | Pick an element-matching weapon and the matching elemental grenade |
| Storm cadence | X11-B-style ability-disable storms in non-X11-B regions | Bank cooldowns for clear windows; the Blitseg is your friend |
The element list is worth dwelling on for a second. The developer has not published a closed element table, but the official upgrade names and patches confirm at least these status families: cryo (freeze and shatter), plasma, acid (note that the Caustic Grenade used to be called the Acid Grenade before the 1.0 rename), rot, blood, shock (the Voltaic Grenade was renamed from Shock Grenade at 1.0), bees, and water. If a modifier says "plasma room," bring a plasma-friendly weapon and resist the urge to fish for off-element Cleansed upgrades that will not activate in that stretch.
Long waves are where cleanses start to matter. The 1.6.6 patch made cleanses automatic — you no longer pay Strange Components or any other resource to lock an upgrade in at the end of a run. That change shifts your in-run priorities: instead of hoarding resources for a meta upgrade at the end, you can spend the run chasing the highest-rarity pickups you find and let the end-of-run screen sort out which ones you keep. Oddity upgrades are the exception — they are common in Ouroboros but explicitly expensive to cleanse, so treat them as a luxury pick unless you are running a dedicated Oddity build.
If you want a broader progression context — how Ouroboros cleanses feed back into the Armament License, how Antimass Substrate ties into Pattern Infusion, and how employee level 30 gates the Exotic+ upgrade rotation — the Mycopunk progression guide maps those systems onto the same numbers the launch notes use.
Bosses, Cleanses, and End-of-Run Choices
Bosses are the punctuation marks of an Ouroboros run. You clear rooms, build a stack of upgrades, hit a boss room, and the result of that fight determines how many cleanses you walk away with. The 1.6.6 tuning changes targeted exactly this moment: a boss that previously ate too much ammo and too much time now respects the 30-second Amalgamation timer and lets the squad actually finish it before the clock runs out.
Below is a quick-reference table for the named enemies you are most likely to meet in late Ouroboros rooms. Drop chances for cleanses are not published, so the table focuses on what the developer has actually described in update notes and what the threat scaling means in practice.
| Boss / Strong Enemy | What You Fight | Key Behavior | Recommended Counter |
|---|---|---|---|
| Amalgamation | Multi-phase fusion boss | 30-second hard timer, so DPS checks matter | Bring the Cycler or another high-DPS primary and save grenades for the burn phase |
| Abomination | Heavy bruiser variant | High burst, slow movement | Stack damage resistance upgrades and kite with the Blitseg |
| Abomination Lacerator | Lacerator sub-type of the Abomination | Wide AoE swings | Maintain mid-range, use shield-style upgrades from the Bruiser's Shield Projector |
| Cranius | Hard-hitting single target | Telegraphed big attacks | Dodge-roll through the wind-up, punish the recovery window |
| Devastator | Heavy ranged unit | Sustained suppressive fire | Break line of sight, use Smoke-style cover or Cryo effects |
| Missilehead | Heavy rocket enemy | Salvo of homing rockets | Spread out, use anti-rocket upgrades if you have any cleansed |
| Brute (incl. copter brute) | Slow but extremely durable | Charges and AoE stomps | Sustained damage over time, plinking with the G6 Streetsweeper from range |
| Hornet | Fast skirmisher | Hit-and-run | AoE grenades to punish grouped spawns |
The named list is not exhaustive — enemies like the Optical Jammer, Antigrav Drone, Pummeler, Pixie, and Autocannon all appear in the official enemy roster but the developer has not published per-enemy behavior notes for every one of them. If you meet an enemy that is not on the table, the type description in the official facts list is the safest reference.
End-of-run cleanses are where you decide what kind of Mycopunk player you are becoming. The 1.6.6 auto-unlock means every cleanse is essentially free, so the question is no longer "can I afford to keep this?" but "is this upgrade the centerpiece of my next run?" A useful rule of thumb is to prioritize upgrades that interact with your preferred employee — if you main Glider and live by Rocket Salvo, an upgrade that buffs Wingsuit mobility is worth more to you than a generic damage boost that another employee can use more efficiently. The employee progression system and its level cap (currently 30) feed directly into which cleanses you can actually equip, so make sure your employee pool is leveled before chasing high-rarity cleanses.
One more consideration: the Mycopunk beginner guide is worth a read if you have not yet unlocked Incursion (which gates at player level 13) or Expedition Alpha (which unlocks the fifth employee, the Mycologist). The Mycologist's specific upgrade tree is not fully published, so the guide is honest about the three confirmed names — Sporelift, Fungal Skewer, and the Infection passive — and does not invent the rest. Run that progression check before committing cleansed upgrades to a fifth employee you have not yet met.
Frequently Asked Questions
What is Mycopunk Ouroboros and how is it different from a normal mission?
Ouroboros is a roguelike mission mode that temporarily clears your permanent upgrades and forces you to rebuild a loadout room by room. At the end of a run, you can cleanse a subset of the upgrades you found to keep them permanently. Almost every upgrade is stackable inside the mode, the Contraband rarity is exclusive to it, and the short Blitz variant uses 13 rooms.
How did patch 1.6.6 change boss scaling in Ouroboros?
The 1.6.6 update slowed boss health scaling dramatically, especially when combined with higher threat levels. The maximum possible boss health is lower than before, the curve does not climb as steeply with more players, and the maximum number of enemy waves per room dropped from 3 to 2. Cleansed Ouroboros upgrades are also automatically unlocked now instead of costing resources, and starting upgrades skew to higher rarities on higher threat levels.
Does Mycopunk threat 8 exist?
No. The developer has explicitly written in 1.10.1 that "threat 8 isn't a thing (yet)." The maximum published threat level is 7, and that is what you should plan your builds around. Any guide or player that references threat 8 content is either speculating about a future patch or confusing Mycopunk with a different game.
Which Mycopunk region is the hardest for Ouroboros runs?
X11-B, the moonlet of New Atlas introduced at the 1.0 launch, is the hardest published region. Enemies there are tougher than the surface regions, and periodic electromagnetic storms disable abilities, which is punishing for builds that lean on cooldown-based utility. The Desert, Ice Floes, and City regions are also demanding due to long sightlines and sniper pressure, but they do not layer an ability-disable storm on top.
What was fixed in the 1.9.2 Ouroboros update?
The 1.9.2 patch fixed a bug where normal Ouroboros runs would not continue after the Amalgamation was killed, restored Paid Time Off spawns in every region, made Ouroboros bosses move again, and corrected region-specific resources showing up on the New Atlas mission hover. It also stopped a voice chat bug from opening a stranger's Steam profile when you adjusted their volume.