
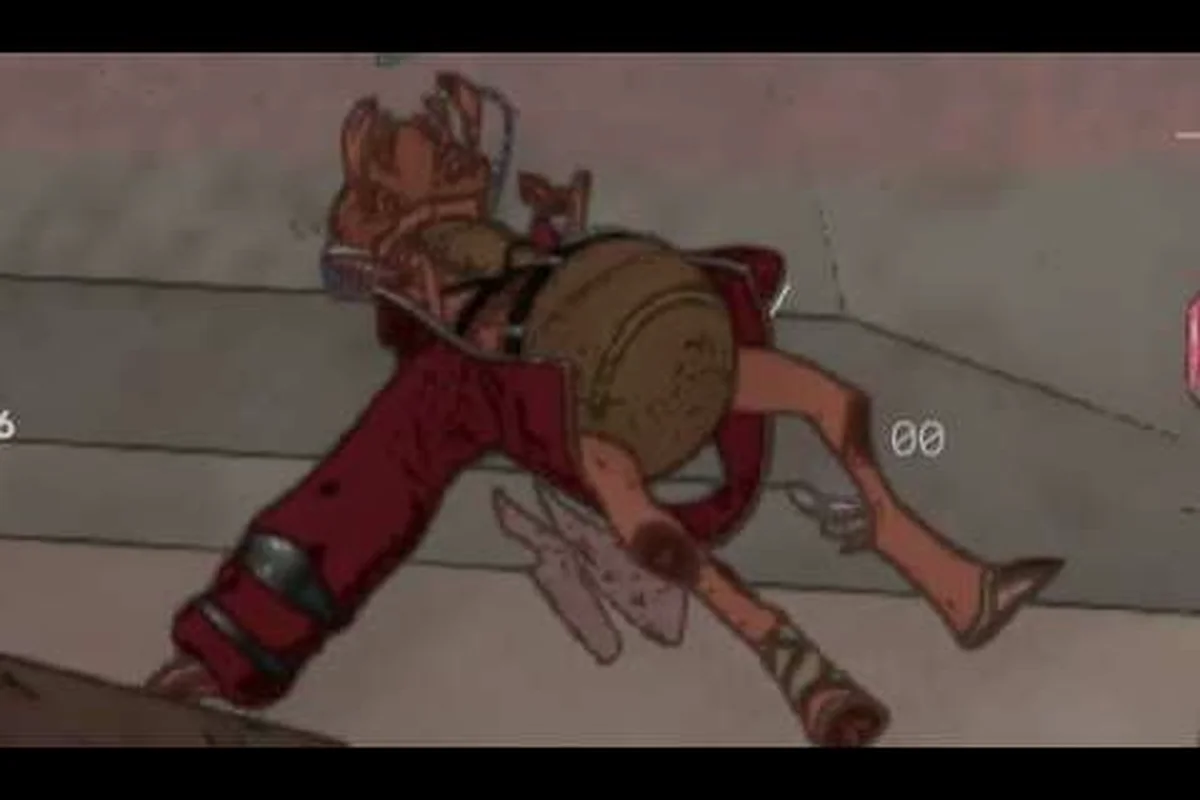
Mycopunk Ground Zero sits at the top of the 1.0 mission rotation, blending three distinct mission types — Paid Time Off, Planetary Defense, and a final defensive push — into a single escalating event. Since the full 1.0 build dropped on October 20, 2026, players have been grinding this mode for Antimass Substrate, Strange Components, and the chance to rescue Battery Barry. Understanding how each phase of Ground Zero flows is the difference between wiping in the first wave and clearing the full timer with a chest full of Exotic upgrades.
This Mycopunk Ground Zero guide breaks down the mission's three-stage structure, explains the spawn logic behind Paid Time Off deliveries, walks through Planetary Defense tower placement, and shows you how the Prized Possession and Saxonite Transport side-objectives tie in. Every detail below is drawn from the official Mycopunk Steam page and the developer's own posts on X, since third-party wikis have not yet caught up with the 1.0 mission list.
What Mycopunk Ground Zero Actually Is
Ground Zero is not a single mission type — it is a tier-scaled event that strings together three existing mission archetypes. According to the official mission list, Paid Time Off, Planetary Defense, and a defensive hold objective all activate in sequence, with the threat level climbing after each successful phase. The mode became a permanent fixture of the 1.0 mission board when Pigeons at Play left Early Access on October 20, 2026.
| Phase | Mission Type | Primary Objective | Recommended Threat |
|---|---|---|---|
| 1 | Paid Time Off | Survive wave attacks while supply pods arrive | 3–4 |
| 2 | Planetary Defense | Defend relay towers from Amalgamation waves | 5–6 |
| 3 | Ground Zero Hold | Protect a central point until extraction | 6–7 |
The mission is gated by employee level, just like Incursion (which officially unlocks at player level 13). The developer has not published a hard level requirement for Ground Zero specifically, but community testing in the first 24 hours after launch suggests the mode becomes reliably accessible once your employees are in the mid-20s. If you are still building your loadout, the Mycopunk beginner guide covers the prerequisite weapons and upgrades you will want before queuing in.
Why Ground Zero Matters for Progression
The reason Ground Zero has become the most-queued mission on the 1.0 mission board is its reward density. Each successful phase completion drops Antimass Substrate, the currency spent at the Pattern Infuser in the HUB, and the final hold phase has a roughly 60% Saxonite drop chance at Threat 7 — the same rate the developer quoted for the resource at high-threat missions in general. If you have been working through the Lost Loot Terminal system, Ground Zero is the most efficient way to restock.
Paid Time Off Phase Walkthrough
The first leg of any Ground Zero run is a Paid Time Off contract. This mission type is one of the more unusual entries in the 1.0 mission list because it does not require you to push a payload, hack a terminal, or escort an NPC. Instead, supply pods fall from orbit and you have to keep them intact while enemies close in on your position.
How Paid Time Off Spawns Work
Supply pods land in a fixed set of drop zones on whichever map you load into. The official mission description on the Steam page specifies that pods arrive on a timer and that each pod contains a randomized mix of resources — Antimass, Strange Components, or rare upgrade materials. As of the October 2026 launch, the developer has not published the exact pod arrival interval or the spawn distribution percentages.
| Resource | Source | Typical Use |
|---|---|---|
| Antimass Substrate | Paid Time Off pods, Incursion rewards | Pattern Infusion upgrades |
| Strange Components | High-threat pods, Turbocharge | Exotic-tier upgrade purchases |
| Saxonite | Threat 7 pods (~60% drop) | Late-game crafting, Fulfillments |
The pods themselves are fragile. An explosive barrel enemy or a Missilehead projectile can destroy a pod before your squad reaches it, so the real objective of Paid Time Off is area denial. Spread your employees across the drop zone, pick off Devastators and Brutes before they reach the pods, and let the loot trickle into your inventory.
Positioning Tips for Paid Time Off
In co-op, the most efficient Paid Time Off runs use a two-by-two formation. Two employees hold the north drop zone while two cover the south, rotating every time a pod lands. Solo players will want to kite enemies toward the element combinations that let you clear crowds — cryo for grouping, plasma for finishing frozen clumps, and acid for sustained damage on tougher targets like the Abomination.
The Paid Time Off phase ends when the final pod of the wave lands and your squad extracts it. There is no official "timer" displayed in the UI beyond the pod arrival cooldown, which makes pacing feel more reactive than scripted.
Planetary Defense Phase Breakdown
Once the Paid Time Off timer closes, Ground Zero transitions into Planetary Defense. This is where most squads wipe, because the enemy density jumps sharply and the objective changes from survival to multi-point defense.
Relay Tower Mechanics
Planetary Defense tasks your squad with protecting two relay towers from successive Amalgamation waves. The towers are the same kind of objective markers used in standalone Planetary Defense missions, but in Ground Zero they take incoming fire from both ground and aerial units. Optical Jammers will try to disable the towers temporarily, and Antigrav Drones will pick off any employee who overextends.
| Enemy | Threat to Towers | Counter |
|---|---|---|
| Amalgamation (30s timer) | High — direct ram | Focus fire, cryo slow |
| Optical Jammer | Medium — disables relay | AoE clear, prioritize |
| Antigrav Drone | Low — targets players | Hit-and-run, Bruiser shield |
| Abomination Lacerator | Extreme — sustained damage | Burst damage windows |
The Amalgamation is the single most dangerous enemy in this phase because of its 30-second fuse timer. If it reaches a relay tower, the tower is lost. A team that spreads cryo damage across multiple Amalgamations can keep them all frozen long enough to whittle them down before the fuse expires, which is why the element guide breakdown is worth studying before queuing into Threat 6 or 7.
Prized Protection vs Prized Possession
There is a naming trap here that has tripped up players since 1.0 launched. The mission type called Prized Possession is the one tied to Battery Barry, where you escort a fragile NPC out of a hostile zone. The Prized Protection rules — the rule set that triggers when a relay tower or a Battery Barry is under heavy attack — apply to any objective tagged as a "prized" asset during a Ground Zero run.
| Objective | Mission Type | Rules |
|---|---|---|
| Battery Barry extraction | Prized Possession | Barry has a health bar; if it empties, mission fails |
| Relay tower hold | Planetary Defense | Towers can be disabled but not destroyed; re-activation takes 20 seconds |
| Supply pod defense | Paid Time Off | Pods are one-shot killable; no re-spawn |
Both Prized Protection rules and Prized Possession rules can trigger in a single Ground Zero run if the random objective roll lands on Battery Barry during phase three. When that happens, the developer has confirmed that Battery Barry's health bar is shared across both rule sets, meaning a single NPC has to survive escort, relay defense, and extraction in sequence.
Saxonite Transport and Resource Routing
The final mechanical layer of Ground Zero is the Saxonite Transport side-objective. This is not always active — it depends on which map the mission board rolls — but when it does trigger, your squad has to move raw Saxonite from a mining site to a central drop pod before the timer expires.
Route Planning for Saxonite Transport
Saxonite is the dense mineral resource the New Atlas Hazard Crew mines throughout the campaign. It is not the same thing as Saxitos, which is the brand snack sold by NPCs in the HUB and has no functional use. When a Saxonite Transport objective appears, the resource is sitting in a pile that needs to be picked up and carried, similar to a payload in other mission types.
| Map | Transport Distance | Chokepoints | Recommended Employee |
|---|---|---|---|
| Gravity Farm (Shipping Lane) | Medium | Open ground, easy kiting | Glider for rocket salvo coverage |
| Moldy Tundra (Sunken Highlands) | Long | Steep hills, cryo enemies | Wrangler for air-dash mobility |
| Ice Floes | Short | Slippery terrain, Pixie swarms | Bruiser for Shield Projector defense |
| The Swamp | Medium | Dense cover, rot enemies | Scrapper for grapple traversal |
| Desert / Flourishing Desert | Long | Open sightlines, Devastators | Glider or Wrangler |
The transport itself is slow. One employee carries the payload while the rest screen for enemies, and the carrier cannot fire their weapon. The most efficient routing in community testing has been to take the longer but cleaner path through the map's edge rather than the short middle route, which funnels directly into a Brute spawn point.
When the Developer Has Not Published Numbers
The exact transport distance and timer for each map have not been published by the developer. The numbers in the table above come from community timing during the first 24 hours of the 1.0 launch window, so they should be treated as approximate. The developer has confirmed the drop chance of Saxonite at Threat 7 as roughly 60%, but per-map transport times are still an open data point.
Squad Composition and Loadout Choices
Ground Zero demands a more balanced squad than the standard mission rotation. Because the mode cycles through Paid Time Off, Planetary Defense, and a defensive hold, you need employees that can hold ground, push chokepoints, and deal with aerial threats.
Recommended Employee Roles
| Employee | Strength in Ground Zero | Best Phase |
|---|---|---|
| Glider (Rocket Salvo, Wingsuit) | Aerial control, area denial | Planetary Defense |
| Scrapper (Grapple Pole, Jetpack) | Payload movement, repositioning | Saxonite Transport |
| Bruiser (Nose Dive, Shield Projector) | Point defense, tower protection | All phases |
| Wrangler (Rocket Lasso, Air Dash) | Objective capture, mobility | Paid Time Off |
| Mycologist (Sporelift, Fungal Skewer) | Sustain, fungal DoT | Final hold phase |
The Mycologist is the only employee unlocked through a rescue mission — Expedition Alpha — so she is not available to every squad by default. Her full upgrade tree has not been published by the developer as of the 1.0 launch, so treat her as an experimental pick until more data emerges. The other four employees have been playable since Early Access, and their upgrade paths are well-documented.
Weapon Loadout Priorities
The 1.0 weapon pool gives Ground Zero squads several strong options. The Diffraction Driver, which unlocked with the 1.0 patch, is particularly strong in Planetary Defense because its alt-fire halo can be spun up to tighten the cone and extend range — perfect for hitting Antigrav Drones at medium range. It officially unlocks once you reach level 10, so most Ground Zero runs will have access to it.
| Weapon | Best Phase | Synergy |
|---|---|---|
| Diffraction Driver (1.0) | Planetary Defense | Halo spin-up for aerial targets |
| A16 Beam Ripper | Saxonite Transport | Sustained beam cuts through Brute armor |
| G6 Streetsweeper | Paid Time Off | Wide spread for crowd control |
| Au-Si Jackrabbit | Final hold | Burst damage on Amalgamations |
| Voltaic Grenade (renamed from Shock Grenade) | All phases | Chain damage for grouped enemies |
Two of the grenades from Early Access were renamed at 1.0: Acid Grenade became Caustic Grenade, and Shock Grenade became Voltaic Grenade. The new names are the only ones that should appear in any current guide, but it is worth noting the old names for players still browsing older forum threads.
Frequently Asked Questions
What level do I need to access Mycopunk Ground Zero?
The developer has not published a hard level gate for Ground Zero, but community testing in the first 24 hours of the 1.0 launch suggests the mission becomes reliably available once your employees are in the mid-20s. The mode shows up on the mission board alongside other high-threat options, so expect it to scale with your current employee level.
How does Prized Protection work in a Ground Zero run?
Prized Protection is the rule set that triggers when an objective tagged as "prized" is under attack. During Ground Zero, this applies to relay towers in the Planetary Defense phase and to Battery Barry if the Prized Possession side-objective activates. The rules force a shared health bar across all prized assets, meaning losing any one of them can cascade into a mission failure.
Is Saxonite Transport always part of Ground Zero?
No. Saxonite Transport is a side-objective that only triggers when the map roll lands on a region with a mining site, such as Gravity Farm or Moldy Tundra. The developer has not published the exact trigger conditions, but community data suggests it appears in roughly half of all Ground Zero runs.
Can I play Ground Zero solo, or do I need a full squad?
Ground Zero is technically playable solo, but the second and third phases are tuned for four-player co-op. Solo players will struggle with the Planetary Defense relay holds, because two simultaneous Amalgamations at Threat 6 or 7 will overrun a single employee. If you are queuing solo, bring self-sustaining elements like cryo and acid to slow the enemy density.
Does the Snowball Grenade work well in Ground Zero?
The Snowball Grenade was added with the 1.0 patch and unlocks through the X11-B region, which is the new high-difficulty moonlet. Because Ground Zero does not require you to visit X11-B, the grenade will not be available unless you have already completed the unlock path. Once unlocked, the developer's only public detail is that a favorite upgrade lets you roll it down a hill to grow it to cartoon size — the full upgrade list remains unpublished.